
Building a reliable outdoor shelter in the Philippines requires gear that can withstand sudden tropical downpours, high humidity, and shifting winds. While traditional tarps (locally known as trapal) often come with pre-installed grommets, these built-in eyelets can easily tear under heavy tension or may not align with your desired shelter configuration. Utilizing specialized trapal brackets—heavy-duty clamps or screw-on fasteners designed to grip the fabric securely—allows you to create custom, reinforced anchor points anywhere along the edge or body of your tarpaulin. By distributing tension evenly and providing robust attachment points for guy lines, these brackets transform a basic sheet of plastic or canvas into a highly stable, weather-resistant campsite canopy.
To achieve a stable setup, the installation process must be approached systematically. You must select compatible hardware, prepare the material surface, attach the brackets without damaging the fabric, and tension the entire structure using balanced rigging techniques. Whether you are setting up a simple lean-to for a quick midday rest or a complex A-frame shelter for an overnight camping trip, mastering the installation of trapal brackets ensures your campsite remains dry, secure, and protected from the elements.
Gather the Right Tools and Hardware for Your Trapal Setup
Before heading out to your campsite, it is essential to assemble the correct tools and hardware required for your specific style of trapal brackets. Trapal brackets generally fall into two main categories: tool-less clamp-on models that use a sliding lock or thumbscrew mechanism, and heavy-duty bolt-on or rivet-style brackets that require manual tools for installation. If you are using bolt-on or rivet-style brackets, ensure your camp kit includes a compact screwdriver, a small adjustable wrench, or a portable rivet gun. Having these tools on hand prevents frustration in the field and ensures you can achieve a tight, secure fit that will not slip when the wind picks up.
Products mentioned in this guide
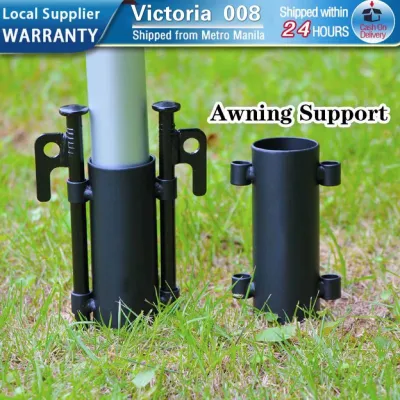
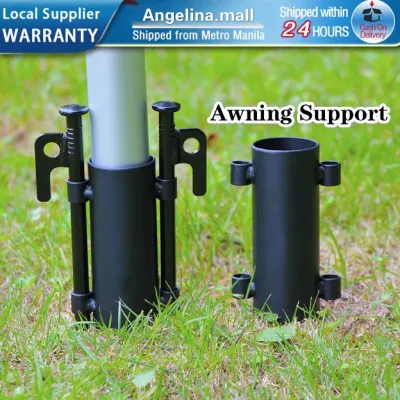
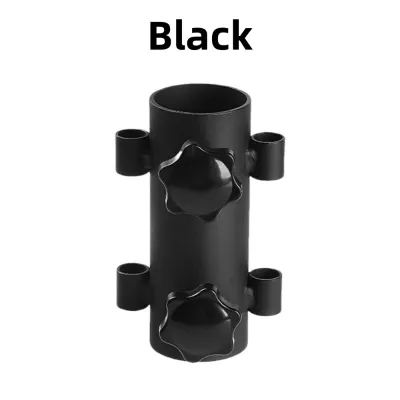
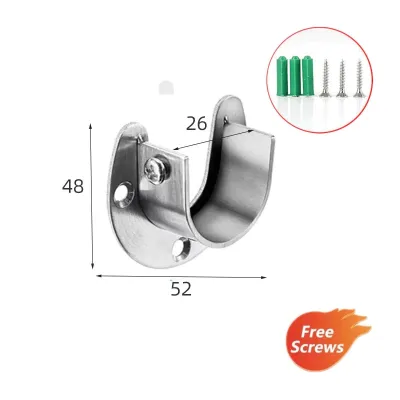
Prices are valid at publication and may change. Please refer to the product page for the latest price.
In addition to the brackets themselves, you must prepare the supporting hardware that connects your shelter to the ground and surrounding trees. High-quality guy lines made of reflective paracord or low-stretch polyester utility cord are crucial for maintaining tension. Pair these lines with durable tensioners or learn reliable tensioning knots, such as the taut-line hitch or trucker’s hitch. You will also need robust tent stakes—such as heavy-duty steel or aluminum Y-stakes—to anchor the lines firmly into tropical soil, which can range from loose sand to thick clay. Carabiners or quick-release clips are highly recommended as they allow you to connect guy lines to your brackets rapidly without tying complex knots in heavy rain.
Finally, always verify the compatibility between your brackets and your tarpaulin before packing. Check the manufacturer’s specifications for the brackets to ensure they are rated for the thickness and material of your trapal. Heavy-duty, multi-layered polyethylene tarps are significantly thicker than lightweight silnylon backpacking tarps, and using a bracket with an incorrect clearance can either fail to grip the material or crush and puncture it. Inspect the clamping surfaces of the brackets for smooth, non-abrasive ridges that provide grip without cutting into the fabric.
Prepare the Tarpaulin and Bracket Placement
Proper preparation of your tarpaulin is the foundation of a structurally sound shelter. Begin by finding a flat, clear area at your campsite, free of sharp rocks, twigs, or thorns that could puncture the material. Lay the trapal completely flat to inspect its overall condition, paying close attention to the reinforced hems, corners, and any existing grommets. These reinforced areas are inherently stronger because they feature folded layers of fabric or integrated webbing, making them the ideal starting points for bracket placement.

To prevent localized stress and potential tearing, you must mark your bracket locations evenly along the perimeter. If you place brackets too far apart or in an asymmetrical pattern, the wind load will concentrate on a single point, leading to premature material failure. Use a temporary marker or piece of tape to designate where each bracket will sit. For a standard rectangular trapal, placing brackets at the four corners and at the midpoint of each side is a reliable baseline. If you plan to pitch a larger shelter, space additional brackets every three to four feet along the edges to distribute the tension evenly across the entire fabric surface.
Your bracket placement must also align precisely with your intended shelter design. For an A-frame pitch, which is excellent for shedding heavy rain, you will need brackets positioned along the center ridge line to support your main support poles or ridge line rope, as well as brackets along the bottom edges to pull the sides taut. For a lean-to pitch, which serves as an effective windbreak, the brackets should be concentrated along the elevated leading edge and the anchored rear edge. Visualizing the final shape of your shelter before securing the hardware ensures that the tension forces will pull in straight, logical lines rather than twisting or distorting the fabric.
Step-by-Step Installation of Trapal Brackets
With your trapal prepared and the placement points marked, you can begin the physical installation of the brackets. If you are using clamp-style brackets, open the clamping jaws fully and slide them over the folded edge of the tarpaulin. Ensure the fabric is pushed deep into the throat of the bracket so that the gripping teeth or ridges engage with a wide surface area of the material. If your tarp has a thick, reinforced hem, position the bracket directly over this double-layered section, as the extra thickness provides a superior grip and prevents the bracket from sliding off under high tension.
For screw-on or bolt-on brackets, align the male and female halves of the bracket on either side of the marked fabric. If the design requires a pilot hole, use a small punch or the tip of your tool to create a clean, precise opening through the tarp, taking care not to fray the surrounding weave. Insert the fastening screw or bolt through the bracket and fabric, then tighten it slowly using your hand tools. It is absolutely critical not to over-tighten these fasteners. Excessive force can crush the plastic bracket housing, strip the threads, or cut directly into the trapal material, creating a weak point that will tear open when the shelter is subjected to wind. Tighten the fastener until it is snug and the bracket halves are firmly pressed against the fabric, but stop before the material begins to bulge or deform.
During the installation process, maintain a strict quality check and observe key stop conditions. If you notice the trapal material showing signs of cracking, stretching, or discoloration around the bracket jaws, halt the installation immediately. This indicates that the bracket is either incompatible with the material thickness or is being applied with too much pressure. Similarly, if the bracket does not sit completely flush against the fabric and can be wiggled or slid out of place with moderate hand pressure, do not proceed. An improperly seated bracket will inevitably slip off once guy lines are tensioned, potentially collapsing your shelter in the middle of a storm. Adjust the placement or use a thin piece of rubber or duct tape as a shim to increase friction and protect the fabric.
Pitching the Shelter: Anchoring and Tensioning
Once all your trapal brackets are securely installed, you can transition to pitching and tensioning the shelter. Begin by attaching your guy lines to the integrated loops or eyelets on the brackets. Using a secure knot like the bowline or attaching a sturdy carabiner ensures a reliable connection that can handle dynamic wind loads. Avoid tying lines directly to the tightening screws or weak plastic tabs of the brackets; always use the designated load-bearing attachment points provided by the manufacturer.
Next, raise the main support structure of your shelter. Depending on your campsite environment and gear preference, you can use adjustable aluminum trekking poles, dedicated steel tarp poles, or sturdy, fallen tree branches. If you are using branches, inspect the ends to ensure they are smooth and rounded, or wrap them in a cloth to prevent them from puncturing the trapal. Position the poles under the reinforced ridge line or directly beneath the brackets designated as primary support points. Elevate the center of the shelter high enough to allow comfortable headroom while maintaining a steep angle on the sides to facilitate rapid rainwater runoff—a crucial consideration during heavy tropical downpours.
With the poles in position, begin tensioning the guy lines to secure the structure. To prevent the shelter from pulling to one side or collapsing, tension the lines gradually using a star pattern, similar to how you would tighten the lug nuts on a car wheel. Secure opposite corners first, pulling them taut but not fully tight, then move to the side lines. Once all lines are anchored to your tent stakes or nearby trees, go around the perimeter a second time to fine-tune the tension. The goal is to achieve a drum-tight pitch where the fabric is smooth and free of wrinkles, which prevents the wind from catching the tarp and flapping it violently.
Weatherproofing and Stability Checks
A newly pitched tarp shelter may look secure in calm weather, but a thorough inspection is required to ensure it can withstand sudden environmental changes. Walk around the perimeter of your shelter and closely inspect each bracket connection. Look for any signs of slippage, where the fabric has begun to slide out of the bracket’s grip, or material deformation, such as stretching or thinning around the attachment points. If you observe any movement, immediately slacken the affected guy line, reposition the bracket, and tighten it securely before re-tensioning.
Next, evaluate the overall geometry of your pitch to ensure effective water shedding. In tropical climates, rainwater can accumulate rapidly on flat or sagging sections of a tarp, creating heavy pools that can overload the brackets, bend support poles, or tear the fabric. Pour a small cup of water onto the top of the shelter to observe its path, or visually verify that there are no low spots or pockets where water could collect. The pitch must feature continuous, steep slopes leading away from the living area. If you identify a potential pooling zone, adjust the height of your support poles or add an extra guy line to a nearby bracket to pull the sagging fabric taut.
Finally, monitor the shelter’s behavior in response to wind. A loose tarp will flap excessively, which generates massive shock loads that can pull stakes out of the ground or snap guy lines. If you hear loud flapping or see the fabric billowing wildly, increase the tension on your guy lines or adjust the angle of your windward side closer to the ground to deflect the breeze. Regularly check the tension of your lines throughout the day, as nylon cords can stretch when wet, and soil conditions can soften during prolonged rain, reducing the holding power of your stakes.
Maintenance and Tear-Down Best Practices
Taking down your tarp shelter with care is just as important as the initial installation for preserving the lifespan of your gear. When it is time to break camp, never yank stakes out of the ground or pull down support poles while the system is under full tension. Doing so places sudden, extreme stress on individual brackets and can cause them to rip through the trapal fabric. Instead, gradually release the tension on all guy lines using your adjustable tensioners or by untying your knots. Once the lines are slack, carefully lower the support poles and lay the tarp flat on the ground.
Before detaching the brackets, inspect them for any accumulated dirt, mud, or salt spray, especially if you have been camping near coastal areas. Gently remove the brackets from the fabric, taking care not to scrape the tarp’s waterproof coating. Use a damp cloth to wipe away debris from both the brackets and the tarpaulin. In humid tropical environments, packing away wet or dirty gear is a recipe for mold, mildew, and corrosion. If weather permits, allow the tarp and brackets to dry completely in the sun before packing. If you must pack up in the rain, make a note to unpack, clean, and dry all components thoroughly as soon as you return home.
To prevent damage during transit, store your trapal brackets in a dedicated, padded pouch or a separate compartment in your backpack. Loose brackets with metal screws, sharp ridges, or hard plastic edges can easily rub against the folded tarpaulin during transport, causing friction tears or punctures. Keep your guy lines neatly coiled and secured with twist ties or rubber bands to prevent tangling. By maintaining an organized storage system and caring for your hardware, you ensure that your trapal brackets remain in peak condition, ready to provide a stable, secure shelter on your next outdoor adventure.
Frequently Asked Questions (FAQ)
Can I install trapal brackets without specialized tools?
Yes, many modern trapal brackets are designed specifically for tool-less installation. These models typically utilize a heavy-duty sliding lock, a cam-lever mechanism, or an integrated thumbscrew that allows you to clamp the bracket onto the fabric using only hand pressure. These tool-less designs are highly convenient for quick setups and emergency shelter adjustments in the field. However, always check the product labels and manufacturer instructions before purchasing, as some heavy-duty or semi-permanent brackets require basic hardware tools like screwdrivers or wrenches to achieve the necessary clamping force for extreme weather conditions.
How do I prevent the tarp from tearing around the brackets?
To prevent tearing, always install brackets over the reinforced, double-layered edges or hems of your trapal rather than single-layer sections. If you must attach a bracket to the middle of the tarp, place a small, temporary reinforcing patch—such as a piece of heavy-duty duct tape or a scrap of rubber—on both sides of the fabric before clamping the bracket down. Additionally, avoid over-tightening the bracket fasteners, which can crush and weaken the material fibers. Distributing the wind load across multiple brackets spaced evenly around the perimeter also prevents any single point from bearing excessive tension.

Community discussion
Share your experience or ask a question. Comments are reviewed before publication.