
To get the right replacement cover for your 3×3 tent frame, you must measure the exact outer edge-to-edge width, the center peak height, the eave height, and the diameter of the frame tubes, while also mapping out the specific locations of the attachment points. A nominal “3×3” label—which typically refers to a 3-meter by 3-meter footprint—can vary slightly between manufacturers, meaning a generic cover might sag, pool water during heavy tropical downpours, or tear under tension. Taking precise physical measurements of your existing frame is the only reliable way to ensure your new canopy fits securely and protects your outdoor setup from intense sun and sudden rain.
In tropical climates like the Philippines, where sudden afternoon rain showers and high humidity are common, a loose-fitting tent cover is more than just an eyesore. It quickly becomes a safety hazard. Water can pool in the sagging fabric, creating heavy pockets that can bend or snap the metal frame beneath. Conversely, a cover that is too tight will experience extreme seam stress during installation, leading to premature tearing when exposed to strong winds. By investing a few minutes in accurate measurements, you protect your investment, extend the lifespan of your outdoor shelter, and avoid wasting money on incompatible returns.
Tools You Need Before Measuring
Before you begin taking measurements, gathering the correct tools will ensure your readings are accurate and consistent across the entire frame. A standard steel measuring tape is highly recommended for straight spans because it remains rigid over long distances, preventing the sagging that often occurs with fabric tapes. However, having a flexible fiberglass measuring tape on hand is also beneficial for wrapping around curved truss bars or measuring the exact circumference of the frame legs.
Products mentioned in this guide
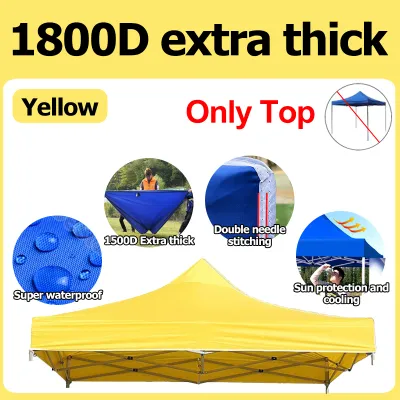
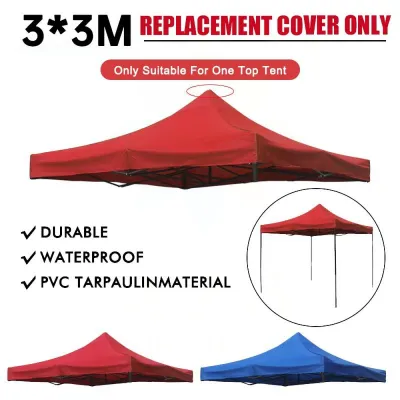
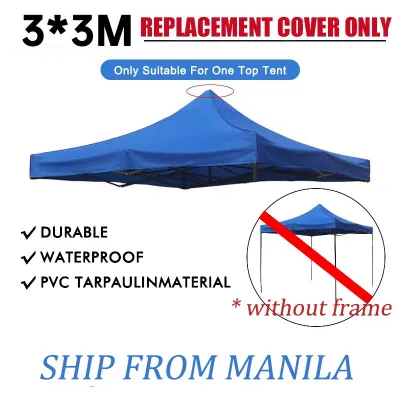
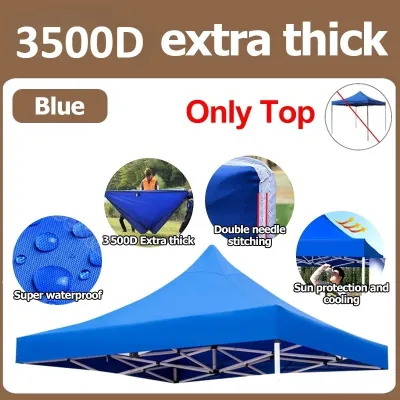
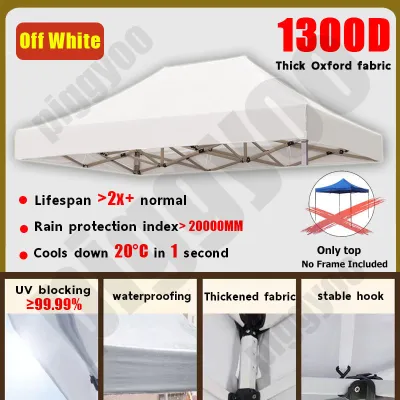
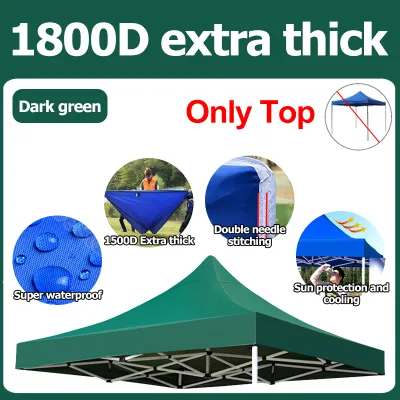
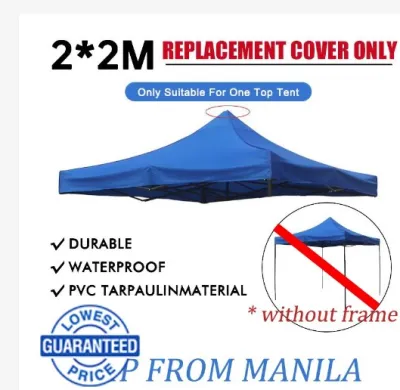
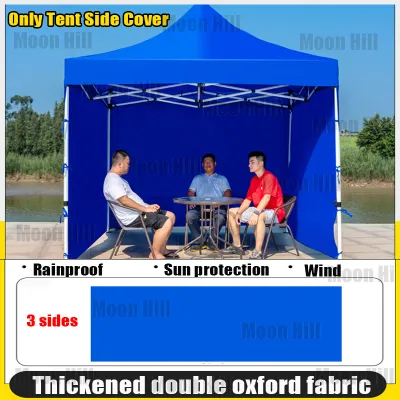
Prices are valid at publication and may change. Please refer to the product page for the latest price.
Do not rely on your memory to keep track of the various dimensions. Prepare a notepad or use a digital device to record each measurement immediately after taking it, noting down the exact units in centimeters or inches. Because a 3×3 tent frame spans three meters in both directions, attempting to measure these distances alone often results in the tape slipping or bending, which skews your numbers. Enlisting a helper to hold the opposite end of the tape taut against the outer edges of the frame is essential for obtaining precise, edge-to-edge readings.
Step-by-Step Guide to Measuring the Frame Dimensions
To establish a reliable baseline for your replacement cover, you must capture the physical footprint and height of the frame when it is fully or partially erected. Start by measuring the top width and length of the roof structure from the outermost edge of one corner joint to the outermost edge of the opposite corner joint. Even if your tent is marketed as a standard 3×3 model, the actual physical dimensions of the top frame can vary by several centimeters depending on the brand.

Once you have recorded the outer edge-to-edge dimensions, verify the inner node-to-node distances. This involves measuring the space between the metal corner brackets where the horizontal trusses connect. This step is crucial because many high-quality replacement covers feature dedicated corner pockets that must slide directly over these nodes. If the node-to-node distance on the cover is even slightly smaller than your frame’s actual dimensions, you will not be able to pull the canopy over the corners without damaging the seams.
Next, measure the vertical dimensions of your frame, starting with the eave height. The eave height is the distance from the ground to the lowest edge of the roof frame where the valance hangs. This measurement determines the clearance height of your tent and helps you choose a cover with a valance drop that does not hang too low or block entryways. Ensure the frame is set to its standard height adjustment lock before taking this measurement, as many pop-up tents have multiple height settings.
After recording the eave height, measure the center peak height. This is the vertical distance from the ground level directly up to the highest point of the center peak pole. If your frame is collapsed or difficult to stand under, you can measure the length of the center peak pole itself from the truss intersection to the top cap. The peak height dictates the slope of the roof; a steeper pitch sheds rainwater more efficiently, which is vital for preventing water accumulation during heavy tropical downpours.
Finally, measure the diameter of the frame tubes, including both the vertical legs and the horizontal cross-trusses. Use your measuring tape to find the width of the square or round tubing, or wrap a flexible tape around the tube to find the circumference and divide by three. Replacement covers often secure to the frame using sleeves, plastic clips, or heavy-duty straps designed for specific tube thicknesses, such as 25mm, 30mm, or 40mm. Choosing a cover with attachment mechanisms that match your tube diameter ensures a secure, rattle-free fit.
Identifying and Measuring Attachment Points
A replacement cover must do more than just sit on top of your frame; it must secure tightly to withstand wind and rain. Inspect your existing frame to identify the primary attachment types used to keep the canopy in place. Common fastening systems include hook-and-loop (velcro) straps that wrap around the trusses, fabric pole sleeves that slide over the corner uprights, snap buttons that click into pre-drilled holes, or plastic clips that snap onto the frame.
Once you have identified the attachment types, measure the spacing between these points along the horizontal eaves and vertical legs. Start from a corner node and measure the distance to each strap or clip location along the truss. If your replacement cover features velcro straps spaced every 50 centimeters, but your frame only has support bars or attachment points every 60 centimeters, the cover will not align properly, leaving loose sections that can flap violently in the wind.
Pay close attention to the corner reinforcements of your frame. Look for any protruding bolts, brackets, or adjustment buttons that could rub against the fabric. A quality replacement cover should have double-layered or reinforced fabric patches at these specific contact points to prevent friction from wearing holes in the material. If your frame has unique corner hardware, measure its dimensions to ensure the replacement cover’s corner pockets are deep and wide enough to accommodate them.
Lastly, measure the valance drop length of your original cover if you still have it, or measure the available space on the frame’s perimeter. The valance is the overhanging fabric border that runs along the edge of the roof. A standard valance drop is typically between 20 and 30 centimeters. Ensuring the replacement cover’s valance matches your frame’s geometry prevents gaps where wind can enter and lift the canopy, while also ensuring proper water runoff away from the frame legs.
Checking Frame Condition and Compatibility Limits
Before purchasing a 3×3 tent cover replacement, it is essential to evaluate the structural integrity of your existing frame. A new cover cannot fix a compromised structure, and installing fabric under tension on a damaged frame can lead to sudden collapse. Carefully inspect all metal joints, sliding brackets, and truss bars for signs of bending, deep rust, or hairline fractures. In humid environments, steel frames can rust from the inside out, weakening the metal significantly.
Check the operation of the frame by opening and closing it partially. If the sliders stick, or if the trusses do not extend smoothly, the frame may be slightly warped. A warped frame alters the physical dimensions of the structure, meaning even a perfectly measured replacement cover will not fit correctly. If you find severe deformation, cracked plastic joints, or rusted-through metal, stop and consider replacing the entire frame rather than buying a new cover, as a damaged frame poses a safety risk during outdoor activities.
While inspecting the frame, look for any manufacturer labels, stickers, or stamps on the legs or crossbars. These labels often contain the exact brand name, model number, and original dimensions of the tent. If you can locate this information, cross-reference it with the manufacturer’s website or original manual to verify your physical measurements. This step provides an extra layer of security, ensuring that any unique design quirks of your specific model are accounted for before you place an order.
How to Use Your Measurements to Order the Right Cover
With your detailed measurements in hand, you can confidently browse online stores or outdoor specialty websites for the perfect 3×3 tent cover replacement. When looking at product listings, do not rely solely on the “3×3” title, as this is often a nominal size that rounds up or down. Instead, navigate to the product description or specification chart to compare your recorded dimensions against the seller’s actual physical measurements.
Understand that minor manufacturing tolerances are normal in the outdoor gear industry. Most replacement covers have a tolerance of plus or minus 2 to 3 centimeters to accommodate slight variations in frame manufacturing. If your frame measures 298 centimeters by 298 centimeters, a cover listed as 300 centimeters by 300 centimeters will generally fit well, especially if it features adjustable tension straps. However, if your frame measures 305 centimeters, a standard 300-centimeter cover will be too small and will likely rip if forced over the corners.
Verify that the roof pitch profile and valance style of the replacement cover match your frame’s geometry. A pyramid-style frame requires a cover with four straight hip seams meeting at a single center point, while a cathedral-style frame may require a different seam layout to accommodate a higher, more dramatic peak. Additionally, check if your frame requires a vented double-roof cover, which features a small secondary cap at the peak to allow wind and heat to escape. Matching these geometric details prevents water pooling, reduces wind resistance, and ensures a clean, professional look.
Frequently Asked Questions (FAQ)
Can I use a universal replacement cover for my specific 3×3 frame?
While universal replacement covers are designed to fit standard square pop-up frames, they are not always a perfect match for every brand. If your 3×3 frame features a unique peak height, non-standard leg spacing, or proprietary corner brackets, a universal cover may sag or fail to secure properly. Always compare your physical measurements against the universal cover’s detailed sizing chart, and look for models with adjustable tension straps to accommodate minor fitment differences.
What if my frame measurements slightly differ from the standard 3×3 size?
Slight differences of 1 to 3 centimeters are common due to manufacturing tolerances, frame wear, or minor bending over time. If your frame is slightly smaller than the replacement cover, you can usually achieve a secure fit by tightening the hook-and-loop straps or using aftermarket canopy tensioners. However, if your frame is larger than the listed dimensions of the replacement cover, do not attempt to force the fabric over the frame, as this will cause the seams to split under tension.
Do I need to take the tent down to measure the frame accurately?
You do not need to fully disassemble the frame, but it is highly recommended to lower the legs to their lowest adjustment setting or partially collapse the frame to measure the peak and eaves safely. Attempting to measure a fully extended peak while standing on a chair or ladder can be dangerous, especially on uneven outdoor ground. Lowering the frame allows you and your helper to take accurate, level measurements without risking injury.

Community discussion
Share your experience or ask a question. Comments are reviewed before publication.