
Finding the right tent replacement cover requires precise physical measurements of your pitched tent rather than relying on the manufacturer’s advertised capacity. To secure a proper fit, you must pitch your tent fully and measure its actual floor length, width, peak height, and slope. Matching these dimensions to a replacement cover’s specifications prevents issues like water pooling during heavy tropical downpours or wind damage during sudden storms. Taking these steps ensures your shelter remains dry, well-ventilated, and structurally sound on your next outdoor adventure.
Why Accurate Tent Measurements Matter for Replacement Covers
Relying solely on a tent’s marketed sleeping capacity—such as a “four-person tent”—or even its original model name often leads to ordering an ill-fitting replacement cover. Marketed capacities refer to how many sleeping pads can fit inside the footprint, not the physical exterior dimensions of the fabric and poles. Different brands design their four-person models with vastly different shapes, heights, and wall angles, meaning a cover designed for one brand will rarely fit another.
Furthermore, outdoor gear undergoes physical changes over time. Fabric stretch from regular use, pole tension under varying weather conditions, and slight settling of the seams can alter your tent’s true footprint compared to its original factory specifications. In humid tropical environments like the Philippines, fabric expansion and contraction can be particularly noticeable.
Products mentioned in this guide
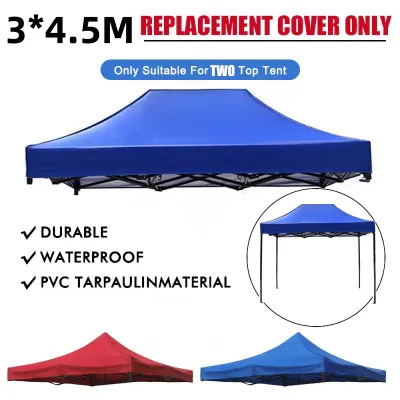
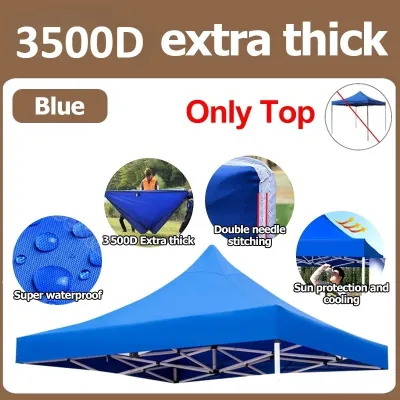
![[Local stock]2*2/3*3M Thickened Durable Tent Cover Retractable tent Replacement Cover Replacement Pop Up Canopy Top Tent Outdoor Waterproof Sunscreen Tent for Car Parking Street stall Camping](https://img.lazcdn.com/g/p/2a07012f3c2259da1a13e28cad572d93.jpg_400x400q80.jpg_.webp)
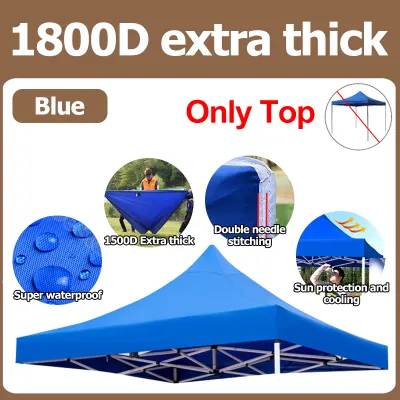
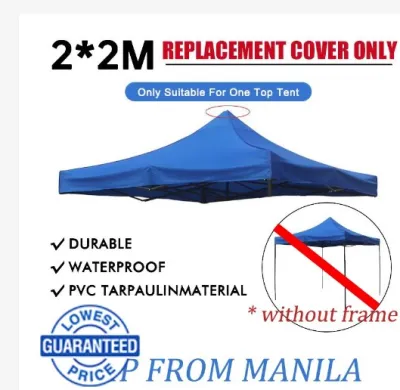
Prices are valid at publication and may change. Please refer to the product page for the latest price.
Using a poorly fitted cover introduces significant risks to your shelter’s integrity. A cover that is too tight can put excessive stress on your tent poles and zippers, potentially causing structural failure or torn seams. Conversely, a loose cover allows water to pool in sagging areas during heavy downpours, catches the wind like a sail, and blocks essential ventilation paths, leading to severe condensation buildup inside the tent.
Tools Required for Measuring Your Tent
Gathering the correct measuring tools before you begin ensures accuracy and saves time during the process. A flexible fiberglass or long metal tape measure is essential, as standard rigid rulers cannot conform to the curved surfaces and sloping angles of a pitched tent. Fiberglass tapes are particularly useful because they do not rust when exposed to damp ground or humid air.

You will also need a notepad, a mobile device, or a dedicated outdoor journal to record your measurements immediately. Write down the length, width, height, and diagonal spans as you take them to avoid relying on memory.
Having a second person assist you is highly recommended, especially when measuring long spans or high peaks. A helper can hold one end of the tape measure taut against a corner seam while you pull the other end to the opposite side, preventing the tape from sagging and skewing your numbers.
Step-by-Step Guide to Measuring Your Tent Dimensions
To capture the exact physical dimensions of your tent, you must measure it in its fully pitched state. Do not attempt to measure a collapsed tent body or rely on flat fabric dimensions, as this will not account for the three-dimensional tension created by the poles.
Set up your tent on a flat, level surface, inserting all poles and securing all stakes in their proper positions. Ensure the fabric is taut but not overstretched, mimicking how the tent stands when fully deployed in the field.
Measuring the Floor Length and Width
Begin by measuring the base footprint of your tent, which forms the foundation for any replacement cover. Place the end of your tape measure at the outer edge of one floor seam and extend it directly across to the opposite outer edge.
Because many tents feature tapered walls or irregular geometric shapes, you should take measurements at multiple points. Measure the width at the center of the tent, as well as at both ends, to identify any narrowing.
Record the longest and widest points as your primary base dimensions. If your tent has a rectangular footprint, these two numbers are straightforward; for hexagonal or dome shapes, ensure you measure from corner to opposite corner to capture the maximum span.
Measuring the Center Height and Roof Slope
The height of your tent determines how much vertical clearance the replacement cover must provide. To measure this, place the tape measure flat on the center of the tent floor and extend it straight up to the highest interior peak of the ceiling.
Next, you need to determine the roof slope, which dictates how the cover drapes over the frame. Measure the diagonal distance from the highest peak down to the bottom corner edges of the tent body.
Take note of any asymmetrical peaks, offset ridge lines, or extended spreader poles. Some cabin-style tents have flat roofs with steep side slopes, while dome tents feature continuous curves, both of which require specific cover shaping to prevent fabric tension or sagging.
Measuring the Rainfly Overhang and Vestibules
If your replacement cover includes integrated vestibules or extended fly edges, you must capture these extended dimensions. Measure the distance from the tent body wall to the outer edge of the existing fly or the area where you want the coverage to extend.
Record the height of the fly’s bottom edge from the ground. A proper gap is necessary to ensure adequate airflow and splash protection, preventing mud from splattering onto the inner tent body during heavy rains.
Finally, check for specific attachment points on the tent body, such as guyline loops, stake-out rings, or dedicated gear loops. These points are critical for securing the cover and maintaining the necessary tension to shed water.
How to Match Your Measurements to a Replacement Cover
Once you have recorded your physical measurements, you can begin shopping for a compatible replacement cover. Always compare your recorded dimensions directly against the manufacturer’s official sizing charts rather than relying on the product title or generic descriptions.
Look for stated tolerance ranges or fit guidelines provided by the cover manufacturer. A good replacement cover should have a small amount of clearance—typically a few centimeters—to allow for easy installation and air circulation, but not so much that the fabric sags.
Verify that the intended tent shape matches the cover’s structural design. A cover designed for a dome tent will not fit a cabin tent, even if the floor dimensions are identical, because the wall angles and peak heights differ completely.
Avoid assuming a universal cover will fit perfectly without checking specific length-to-width ratios. Many universal covers are designed for standard rectangular footprints and may fail to cover the corners of geodesic or extended-tunnel tents properly.
Checking Compatibility Beyond Basic Dimensions
Physical dimensions are only part of the equation; you must also ensure the replacement cover can physically attach to your tent frame. Identify the specific attachment system your tent uses, such as pole sleeves, clip-in grommets, Velcro tabs, or plastic buckles.
Check the placement of doors and windows on your tent body. The replacement cover’s access points, zippers, and vestibule openings must align with these features to allow you to enter and exit the tent without removing the cover.
Review the ventilation features of the replacement cover. Look for mesh panels, roof vents, or kickstand vents that align with your tent’s ventilation system to prevent condensation buildup, which is especially critical in humid tropical climates.
If possible, consult your tent’s original manual or the manufacturer’s website to look for specific replacement part numbers. Even if the model is older, some manufacturers use standardized attachment systems across multiple generations of gear.
What to Do If Your Tent is an Odd Shape or Discontinued Model
If your tent has an unusual shape or is a discontinued model, finding a direct replacement cover can be challenging. In this situation, your first step should be contacting the original tent manufacturer directly to inquire about legacy parts or compatible alternatives.
If official parts are unavailable, consider exploring high-quality universal camping tarps as a modular alternative. By using adjustable guylines, tensioners, and tarp poles, you can suspend a tarp over your tent to provide reliable rain and sun protection.
Avoid attempting to modify a standard replacement cover by cutting or sewing the fabric yourself. Modifying technical outdoor fabrics typically voids any remaining warranties and compromises the waterproofing of the seams, leaving your shelter vulnerable to leaks.
Frequently Asked Questions (FAQ)
Can I use a slightly larger replacement cover if my exact size is unavailable?
Using a slightly larger cover is generally not recommended because excess fabric creates several performance issues. The loose material can easily catch the wind, causing loud flapping noises that disrupt sleep and put unnecessary stress on your tent poles. Additionally, slack areas in a larger cover are prone to water pooling during heavy rains, which can weigh down the structure and eventually leak through the fabric. If you must use a slightly larger cover as a temporary solution, use additional guylines, tensioners, or bungees to pull the excess fabric as taut as possible.
How do I measure a tent that is missing its poles?
If your tent is missing its poles, you can still estimate its dimensions by laying the tent body flat on a clean surface. Pull the fabric taut along the floor seams without stretching the material excessively, and measure the length and width. To estimate the height and roof slope, you can measure the length of the pole sleeves or check the length of any remaining shock cords. However, the most reliable method is to search for your tent’s original manual, purchase receipt, or the manufacturer’s website to find the official specification sheet.

Community discussion
Share your experience or ask a question. Comments are reviewed before publication.