
Riding mountain bikes in the Philippines exposes your suspension fork to demanding tropical conditions, from sticky clay mud during the monsoon season to fine, abrasive dust on dry summer trails. Over time, this trail debris bypasses the dust wipers, contaminating the internal lubricating oil and causing your suspension to feel harsh, sticky, or unresponsive. Performing a basic lower-leg service at home is the most effective way to restore your fork’s plush feel, protect the sensitive stanchion coatings, and prevent premature wear. This routine maintenance involves removing the lower legs, cleaning the internals, inspecting the seals, and replacing the lubricating bath oil, which can easily be completed in a home workshop with standard tools. By performing this service every 30 to 50 riding hours, you can maintain consistent performance and avoid expensive repair bills.
What tools and supplies do you need for basic MTB fork maintenance?
Gathering the correct tools and consumables before you begin ensures a smooth, uninterrupted service and prevents accidental damage to delicate suspension components. You will need a set of high-quality hex keys (typically 2mm to 6mm), a socket wrench set (often requiring deep sockets like 10mm or 15mm depending on your fork model), a plastic or rubber mallet, and a secure bike repair stand or a soft-jaw vise to hold the fork. For cleaning and preparation, keep a bottle of 90% or higher isopropyl alcohol, a clean syringe or graduated cylinder for measuring fluids, and several clean, lint-free microfiber rags on hand.
The consumables required for this service are highly specific to your fork’s make and model. You will need suspension-specific grease, which is formulated without lithium to prevent the rubber seals from swelling or degrading. You also need the correct suspension fork bath oil, which is distinct from damper fluid and is designed specifically to lubricate the bushings and stanchions. A basic lower-leg service kit, including replacement dust wipers and foam rings, typically costs between ₱1,200 and ₱2,500 depending on your fork brand.
Products mentioned in this guide
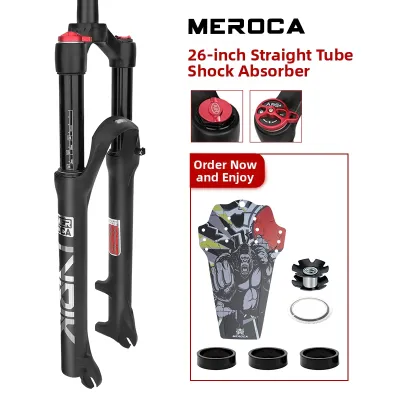
122 Lazada user ratings
The fork is great, but I thought they would use professional tools to help with the flower heart; I guess I need to buy the tools myself. No…Read full reviewShow less
The fork is great, but I thought they would use professional tools to help with the flower heart; I guess I need to buy the tools myself. Now I'm checking if the tools can make it straight or if I can fit another one in. I understand the slight frustration with asking for help for free.
This fork looks sleek and neat, has solid construction, and is fairly lightweight. The travel length is sufficient and quite smooth. However…Read full reviewShow less
This fork looks sleek and neat, has solid construction, and is fairly lightweight. The travel length is sufficient and quite smooth. However, the response isn't as quick as hydraulic forks, which I found to be more comfortable after comparing them.
J's restajjeiiurant Android have a great weekend too much for the help today tested for the sake 🍶 to the 633
🔨Durability: all goods easy to use easy to install easy to clean easy to rock easy to ride easy to use amen.
Good product quality, High-quality durable material,
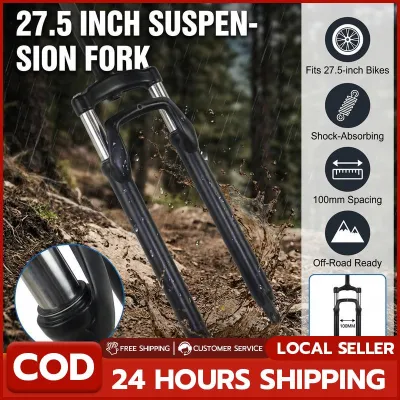
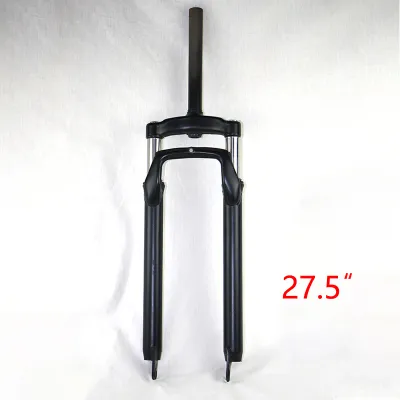
2 Lazada user ratings
🔨Durability:its a hard metal it can carry 65 kg person...the shocks works perfect. 🔌Compatibility:perfect, ot fits to my 26er mtb frame 🛠️Eas…Read full reviewShow less
🔨Durability:its a hard metal it can carry 65 kg person...the shocks works perfect. 🔌Compatibility:perfect, ot fits to my 26er mtb frame 🛠️Ease of Installation:easy to install, without to many us
Well-packaged. Item shipped immediately. Very accommodating seller. Very useful. Excellent product. Thank you very much
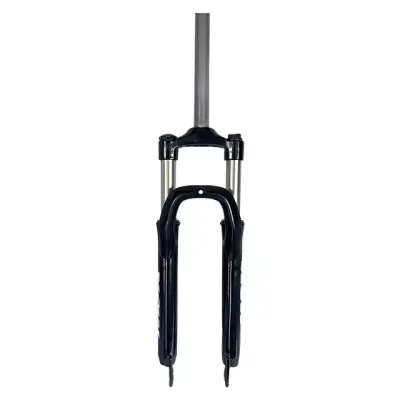
10 Lazada user ratings
ibang klase diniliver nyo bos. hindi gaya ng nasa picture na may shock lock. maging honest po sana kayo kung ano yung nasa picture yun ang b…Read full reviewShow less
ibang klase diniliver nyo bos. hindi gaya ng nasa picture na may shock lock. maging honest po sana kayo kung ano yung nasa picture yun ang bigay nyo sa costumer nyo.😔😔😔
dismayado ako kase walang pa sticker ung shop.... hahahaha... joke lang... maganda boss.. ok naman ung item.... mabilis din nai deliver.. sa…Read full reviewShow less
dismayado ako kase walang pa sticker ung shop.... hahahaha... joke lang... maganda boss.. ok naman ung item.... mabilis din nai deliver.. salamat boss
mali yung binigay nila. nasa na review ako. scam yung nasa picture. paki ban nalang nang seller. masisira yung Lazada at tsaka ibang seller.
🛠️Ease of Installation:Metal construction for strength, Smooth riding experience, Shock absorbing front fork,
Smooth riding experience, Durable alloy material,
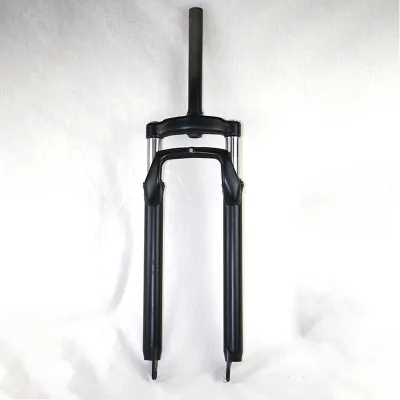
5 Lazada user ratings
You get what you paid for. Need to install expander. Mura lang ito at gumagana.
🔨Durability:okie 🔌Compatibility:okie 🛠️Ease of Installation:okie
🔌Compatibility:add looks on my bike👍
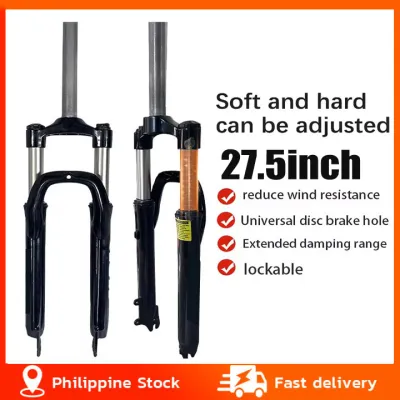
13 Lazada user ratings
🔨Durability:c8t7ruducucufuuvg 🔌Compatibility:ufugugufufucyd8x8t 🛠️Ease of Installation:ify8tztuzurzfizigxiEasy to install, Perfect for mounta…Read full reviewShow less
🔨Durability:c8t7ruducucufuuvg 🔌Compatibility:ufugugufufucyd8x8t 🛠️Ease of Installation:ify8tztuzurzfizigxiEasy to install, Perfect for mountain biking, Durable alloy construction,
mabilis dumating at maayus pag kakabalot ng parcel mukha maubay t magamda tignan yung items
🔨Durability:ok 🔌Compatibility:ok 🛠️Ease of Installation:ok
🔌Compatibility:Nice 👍🙂
sulit na sulit
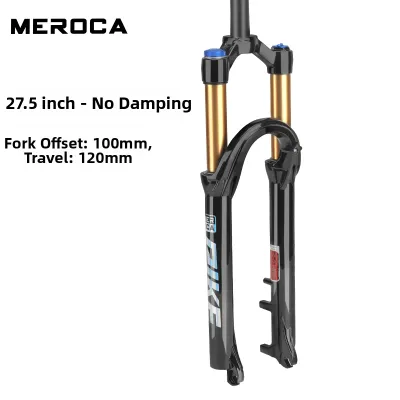
33 Lazada user ratings
🔨Durability:good 👍👍👍Sturdy construction, 🔌Compatibility:good 👍👍👍 🛠️Ease of Installation:good 👍👍👍 quality Fast shipping service, Good size compatibi…Read full reviewShow less
🔨Durability:good 👍👍👍Sturdy construction, 🔌Compatibility:good 👍👍👍 🛠️Ease of Installation:good 👍👍👍 quality Fast shipping service, Good size compatibility, maraming salamat seller and lasada
The Meroca Airfork is good and overall fork parts is working. Good for everyday ride in different kind of roads.
Elegant design, Fast shipping service, safe ang item recommended shop good job seller thnx......
very good, ganda ng gawaDurable gold tube, Excellent shock absorption,
angas legit 💯👌
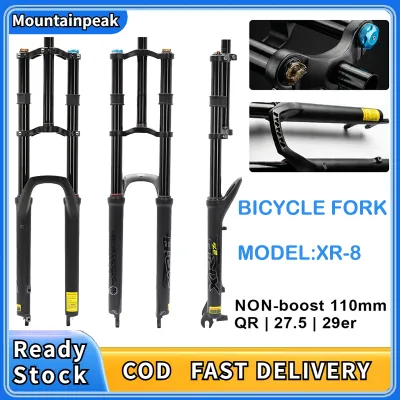
Prices are valid at publication and may change. Please refer to the product page for the latest price.
Always consult the manufacturer’s official service manual or online technical documents before purchasing your supplies. Different brands and models require highly specific oil viscosities (such as 0W-30, 10wt, or 15wt) and precise fluid volumes measured in milliliters for each leg. Using the incorrect oil weight or volume can severely compromise your fork’s performance, cause oil to leak past the seals, or fail to provide adequate lubrication to the internal bushings.
How do you safely remove the fork lowers and drain the old oil?
Safely removing the lower legs requires a methodical approach to prevent physical injury and protect the highly polished stanchion surfaces. Before touching any bolts, you must completely release all air pressure from the air spring chamber. Locate the air valve on the top left cap of the fork, remove the protective cap, and use a small hex key to depress the Schrader valve core until you no longer hear air escaping. Compress the fork fully to ensure no residual air remains trapped in the negative chamber. Skipping this step can cause the lower legs or internal shafts to eject violently under pressure during disassembly, risking severe injury.

Once the air is fully discharged, secure the bike in a repair stand or mount the fork in a soft-jaw vise. If your fork has an external rebound adjuster knob on the bottom of the right leg, carefully remove it by loosening its set screw or pulling it straight off, keeping track of any small detent springs or bearings. Use the correct size hex key or socket to loosen the bottom bolts or nuts on both legs. Unthread them approximately three to four full turns, but do not remove them completely.
The internal air and damper shafts are press-fit tightly into the bottom of the magnesium lower legs. To dislodge them safely, place a deep socket over the partially unthreaded bottom bolts to protect the threads, then tap the socket gently with a rubber mallet. You will feel a sudden release and hear a dull thud when the press-fit bond breaks.
Position a clean oil catch pan directly beneath the fork legs. Carefully slide the lower legs downward and off the stanchions, keeping the fork angled slightly downward to guide the oil into the pan. Allow the old bath oil to drain completely. Dispose of the used suspension oil responsibly by bringing it to a local automotive service center or a designated recycling point. Carefully store the bottom bolts, crush washers, and any spacers in a clean container.
How should you clean the stanchions, seals, and lowers?
Thorough cleaning is the foundation of a successful suspension service, as even microscopic dirt particles can cause premature wear on the stanchions and internal bushings. Start by spraying the exterior of the stanchions generously with 90% or higher isopropyl alcohol. Wipe them down completely using a clean, lint-free microfiber rag, paying close attention to the area around the crown where dirt tends to accumulate. Isopropyl alcohol is the ideal cleaning agent because it cuts through stubborn grease and oil without leaving a residue or damaging the anodized coating on the stanchions.
Next, focus on cleaning the interior of the lower legs, which often contains a mixture of degraded oil, grease, and fine trail grit. Wrap a clean, lint-free paper shop towel or microfiber cloth securely around a long wooden dowel or a specialized suspension cleaning rod. Soak the cloth in isopropyl alcohol and gently push it through the inside of each lower leg, rotating it to wipe the internal walls and bushings. Repeat this process several times with fresh, clean cloths until they come out completely white and free of dark residue.
Clean the rubber dust wipers at the top of the lower legs using a clean rag saturated with isopropyl alcohol. Carefully wipe the inner lips of the seals to remove any trapped dirt or old grease. Avoid using automotive degreasers, harsh solvents, or high-pressure water spray on any part of the fork, as these chemicals can degrade the rubber compounds of the seals and strip away essential factory coatings. Allow all cleaned components to air-dry completely in a dust-free environment before proceeding to the inspection and reassembly stages.
How do you inspect the seals and foam rings for wear or damage?
Inspecting the wear items during a lower-leg service allows you to determine whether you can safely reuse your existing seals or if you need to install a fresh service kit. Begin by examining the rubber dust wipers at the top of the lower legs under a bright light. Look closely for any signs of cracking, dry rot, tears, or physical deformation along the outer edges and the inner sealing lips. If the rubber feels stiff, brittle, or shows visible wear, the seals can no longer keep dirt out and must be replaced immediately.
Next, inspect the foam rings, which are located in a groove directly beneath the dust wipers. Use a plastic pick or a blunt tool to gently lift the foam rings out of their seats, taking care not to scratch the magnesium lower legs or damage the rubber seals. Squeeze the foam rings gently to evaluate their condition; they should feel soft, springy, and hold their shape. If the foam rings are torn, compressed, dry, or saturated with black, gritty mud that cannot be washed out, they have lost their effectiveness.
If there is any doubt about the integrity of the dust wipers or foam rings, err on the side of caution and replace them. Reusing worn or contaminated seals allows water and abrasive trail grit to bypass the wipers and enter the lower legs. Once inside, this grit acts like sandpaper against the stanchions, rapidly wearing away the anodized coating and causing permanent, irreparable damage to the fork’s structural components.
How do you reassemble the fork and add the correct bath oil?
Reassembling the fork requires precision and care to ensure all seals seat correctly and the internal lubricating oil remains securely contained. Start by preparing the foam rings and dust wipers. If you are reusing the clean foam rings or installing new ones, soak them in a small container of fresh suspension bath oil until they are completely saturated. Reinstall the saturated foam rings into their designated grooves just below the dust wipers. Apply a thin, even layer of suspension-specific grease to the inner lips of the dust wipers to minimize friction.
Carefully align the lower legs with the stanchions and slide them on slowly. As the stanchions enter the dust wipers, guide them gently to prevent the rubber lips from pinching or rolling inward. Slide the lower legs upward until the stanchion ends are positioned just above the bottom holes of the lowers, leaving enough space inside the lower legs to inject the fresh lubricating oil.
Tilt the fork so the bottom bolt holes face slightly upward. Draw the exact volume of fresh bath oil specified in your manufacturer’s service manual into a clean syringe. Insert the syringe tip into the bottom hole of one leg and slowly inject the oil, then repeat the process for the other leg. Be careful not to inject oil into the center of the damper shaft or air spring shaft; the oil must flow into the cavity between the stanchion and the lower leg casing.
Slide the lower legs the rest of the way up until the internal shafts seat firmly against the bottom of the lowers. Install new crush washers onto the bottom bolts or nuts to ensure a reliable, leak-free seal. Thread the bottom bolts in by hand to prevent cross-threading, then use a torque wrench to tighten them strictly to the manufacturer’s specified torque settings. Reinstall the external rebound adjuster knob, wipe away any excess oil from the exterior of the fork, and pump the air spring back up to your preferred riding pressure.
When should you stop and take your MTB fork to a professional mechanic?
While a basic lower-leg service is highly manageable for home mechanics, certain suspension issues require specialized tools, clean-room environments, and professional expertise. If your fork is consistently losing air pressure, making a squelching or gurgling noise during compression, or if the rebound and compression adjustments have stopped functioning, the internal air spring or damper cartridges require a comprehensive rebuild. These deeper services involve working with high-pressure chambers and delicate internal valving that exceed the scope of routine home maintenance.
You should also stop the maintenance process immediately if you encounter seized bolts, stripped threads, or if the service manual specifies proprietary tools that you do not own. Attempting to force a stuck component or using the wrong tool can easily round off soft aluminum bolts or crack the magnesium lower legs, turning a simple service into an expensive replacement.
For complex damper cartridge rebuilds, structural repairs, or warranty-related services, it is highly recommended to take your fork to a certified suspension tuner or a professional bike mechanic in the Philippines. Professional shops possess the specialized nitrogen charging systems, vacuum bleed machines, and manufacturer-specific diagnostic tools necessary to restore your suspension to factory specifications safely and reliably.

Community discussion
Share your experience or ask a question. Comments are reviewed before publication.