
Setting up a Coody inflatable tent is a straightforward process that replaces traditional fiberglass or metal poles with robust, air-filled TPU (thermoplastic polyurethane) beams. To achieve a stable, weather-resistant shelter, you must systematically prepare the ground, secure the base, inflate the beams to the manufacturer’s specified pressure, and pack the structure down carefully to prevent mold and physical damage. Whether you are camping in the humid highlands of Tagaytay or along a breezy coastal beach in the Philippines, mastering these steps ensures your inflatable home remains durable, dry, and reliable for many adventures to come.
While inflatable tents offer unmatched convenience and rapid setup times, they require mindful handling to protect the air beams from punctures and structural stress. This guide walks you through the entire lifecycle of a Coody inflatable tent, from selecting the right campsite to executing a clean pack-down and storing the gear safely for your next outdoor excursion.
Preparing Your Campsite and Gear
Before you unroll your tent, you must thoroughly inspect and prepare the ground. Clear away all sharp objects, including volcanic rocks, dried bamboo splinters, fallen branches, and thorny brush. A single sharp point under the weight of campers can puncture the heavy-duty fabric or damage the internal air beams. If you are pitching on rough or uneven terrain, take extra time to level the area as much as possible to prevent uneven stress on the tent’s structure.
Products mentioned in this guide
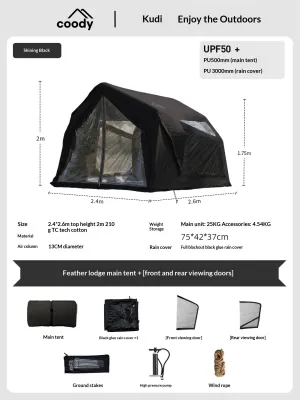
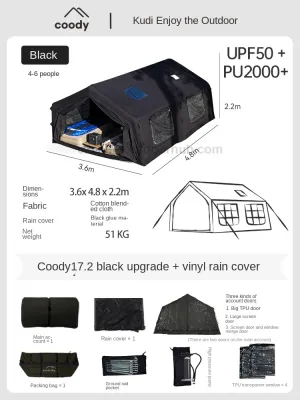
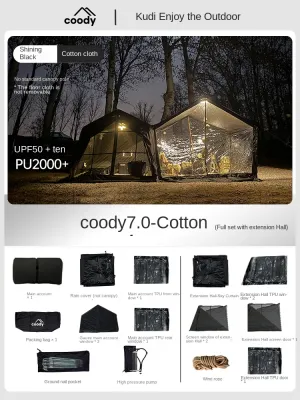
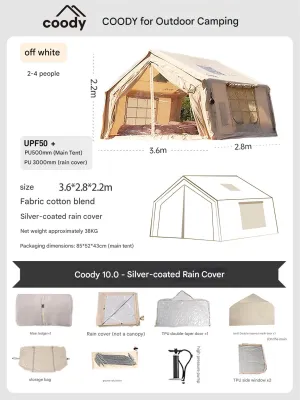
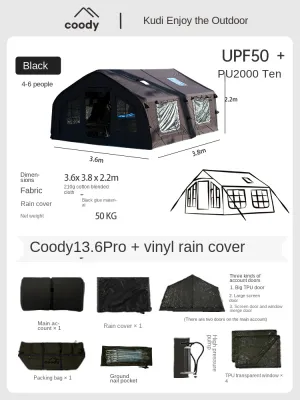

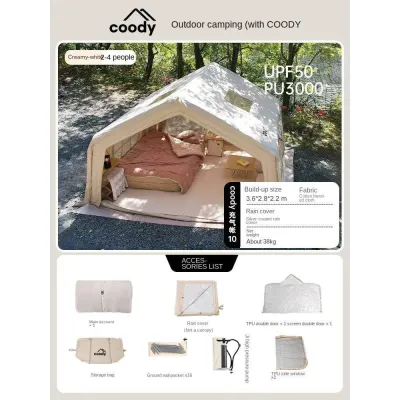
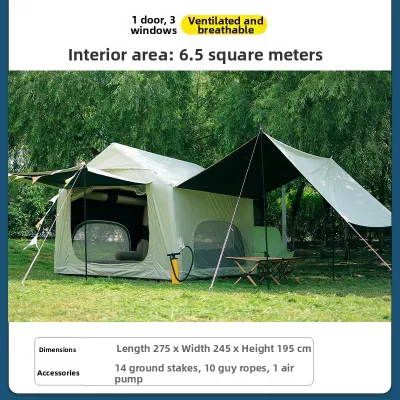
Prices are valid at publication and may change. Please refer to the product page for the latest price.
Using a dedicated footprint or groundsheet is highly recommended to protect your investment, which can cost a significant amount of pesos. Ensure the groundsheet is specifically sized for your Coody model. If the footprint is too large and extends beyond the edges of the tent, it will catch rainwater and funnel it directly underneath your floor, creating a damp pool. Always tuck any excess groundsheet fabric underneath the tent floor to keep it completely hidden from rain runoff.
Conduct a quick gear check before you begin the setup process. Verify that you have the manual double-action hand pump or a compatible low-pressure electric pump, along with all necessary pegs, guy lines, and the emergency repair kit. In tropical climates, high humidity can affect valve seals over time, so inspect the rubber O-rings on the inflation valves to ensure they are clean, supple, and free of sand or grit that could cause slow air leaks.
Step-by-Step Setup and Inflation Process
To begin the setup, unroll the tent flat over your positioned groundsheet. Orient the main door away from the prevailing wind to prevent sudden gusts from rushing inside and lifting the fabric during the inflation process. Ensure the tent body is spread out evenly with no major folds or twisted fabric sections.

Before attaching the pump, peg down the four main corners of the tent base. This is a critical safety step; an unanchored inflatable tent can act like a giant kite if a sudden gust of wind sweeps across the campsite. Drive the heavy-duty pegs into the ground at a 45-degree angle pointing away from the tent, ensuring the base fabric is taut but not overly stretched.
Locate the inflation valves on the air beams. Coody tents typically feature a single-point inflation system or individual beam valves. Ensure the deflation cap is tightly closed and the inflation valve is set to the one-way airflow position. Securely attach the pump nozzle to the valve. If you are using the manual hand pump, use smooth, steady strokes to inflate the beams.
Monitor the pressure gauge closely during inflation. Most inflatable tents operate safely between 5 to 7 PSI, but you must verify the exact limit printed on your specific model’s valve, pump, or user manual. Stop pumping immediately once the beams are firm and the tent stands upright. In hot tropical weather, the air inside the beams will expand as the temperature rises, so avoid inflating to the absolute maximum limit during the heat of the day to prevent over-pressurization.
Once the tent is fully upright, walk around the perimeter to make final adjustments. Check that the air beam sleeves are straight and not twisted. Secure the remaining perimeter pegs and extend the guy lines outward, aligning them with the seams of the air beams. Stake the guy lines down and adjust the tension sliders so the lines are taut. This tension is vital for shedding heavy rain and maintaining structural stability during windy conditions.
Breaking Down and Packing the Tent
When it is time to pack up, open all the doors and windows slightly. This allows air to escape freely from the tent cabin as the structure collapses, preventing air pockets from getting trapped inside the fabric. Locate the main deflation valves on the air beams and unscrew them fully. The air will escape quickly, and the tent will gently sink to the ground.
Walk along the collapsed beams and gently press down on them to help expel any remaining trapped air. Ensure that no sand, dirt, or moisture enters the open valve ports during this step, as debris can ruin the airtight seal of the valves. Keep the valve caps loosely attached or protected while you fold the tent.
In the Philippines, high humidity and sudden afternoon rain showers are common. Never store a wet or damp inflatable tent long-term, as mold and mildew can ruin the fabric coatings and cause the air beam sleeves to rot. If you must pack up in the rain, wipe down the exterior fabric and the muddy underside of the floor with a clean towel, pack it temporarily, and ensure you unroll and dry the tent completely in a well-ventilated area within 24 hours.
To fold the tent, fold the sides lengthwise toward the center to match the exact width of your carry bag. Keep the air valves exposed at one end of the fold. Begin rolling the tent tightly from the opposite end toward the open valves. This directional rolling forces any remaining air out of the TPU beams as you go. Keep the roll as neat and compact as possible.
Once rolled, secure the tent with the compression straps and place it into its carry bag. Pack the pegs, guy lines, and pump into their separate accessory pouches before placing them in the main bag. Never throw loose metal pegs directly into the bag with the tent, as their sharp edges can easily puncture the fabric or the delicate air beams during transport.
Essential Maintenance and Storage Guidelines
After returning home from your camping trip, perform a deep clean if the tent has accumulated mud, saltwater spray, or tree sap. Use mild, non-detergent soap, lukewarm water, and a soft sponge to clean the dirty areas. Avoid harsh chemical cleaners, bleach, or abrasive brushes, which can strip away the waterproof polyurethane coatings and damage the air beam casings.
Always dry the tent completely before long-term storage. Hang or pitch the tent in a shaded, well-ventilated outdoor area. Avoid leaving it in direct, intense sunlight for extended periods, as ultraviolet (UV) rays can degrade synthetic fabrics and weaken the seam tapes over time.
Store the packed tent in a cool, dry indoor closet or storage room. Avoid damp basements, hot attics, or outdoor sheds where temperatures can soar, as extreme heat can cause the TPU air beams to degrade or the seam tape to peel off. Keeping the gear in a climate-controlled environment extends its lifespan significantly.
Periodically inspect the inflation valves for dust, hair, or sand. Apply a thin layer of silicone grease to the rubber gaskets if they appear dry or cracked. Check the air beam sleeves and fabric seams for any signs of wear, loose stitching, or delamination, ensuring your gear is fully prepared and safe for your next outdoor excursion.
Frequently Asked Questions (FAQ)
What should I do if an air beam loses pressure during the night?
A slight drop in pressure is often natural and caused by falling nighttime temperatures, which make the air inside the beams contract. If the beam feels excessively soft, check the valve cap to ensure it is fully tightened and the rubber gasket is seated correctly. If you suspect a slow leak, inflate the beam slightly, spray soapy water on the valve and seams, and look for bubbles. Use the included repair kit patches on clean, dry TPU to seal any punctures.
Can I use an electric air pump to inflate my Coody tent?
Yes, but you must use a low-pressure, high-volume electric pump designed specifically for inflatable tents or stand-up paddleboards (SUPs) that features an automatic shut-off mechanism. Never use high-pressure air compressors, such as those found at gas stations or tire inflators, as they can instantly over-inflate and burst the air beams. Always set the pump to the manufacturer’s recommended PSI and monitor the inflation process closely.

Community discussion
Share your experience or ask a question. Comments are reviewed before publication.