
Braided fishing line is incredibly strong and thin, but its slick, wax-like polyethylene coating makes it highly prone to slipping when tied with standard knots. To tie secure, slip-free knots on braided line, you must use specialized knots that rely on friction and multiple wraps—such as the Palomar, Uni, or FG knot—and ensure they are properly lubricated and seated before casting. Because braided line does not stretch or compress like monofilament, standard knots will simply unravel under tension, making proper knot selection and execution essential for successful fishing.
Whether you are casting into the mangroves for mangrove jack or trolling deep offshore waters in the Philippines, your connection to the fish depends entirely on the integrity of your knot. The tropical heat and high humidity can accelerate gear wear, making a secure knot even more critical. By understanding the physical properties of braided line and mastering a few key tying techniques, you can fish with complete confidence that your line will hold under the heaviest loads.
Why Braided Line Slips and How to Prevent It
Braided fishing line is constructed by weaving multiple strands of high-strength synthetic fibers, such as Gel-Spun Polyethylene. This manufacturing process creates a line that has an incredibly high tensile strength relative to its diameter, along with virtually zero stretch. However, these same fibers are exceptionally smooth and slick. Unlike monofilament or fluorocarbon, which are single strands of plastic that naturally “bite” and compress against themselves when compressed into a knot, braided line has no elasticity to hold a knot in place.
Products mentioned in this guide
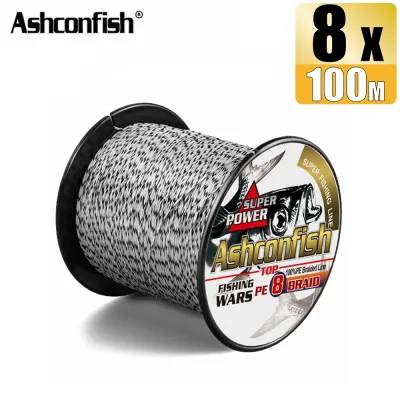
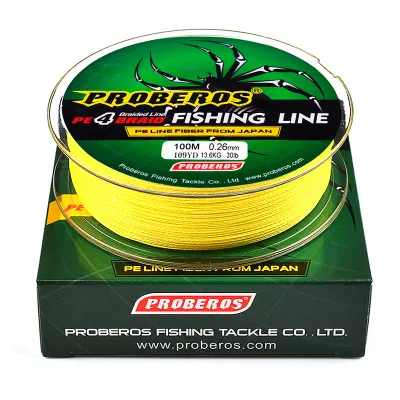
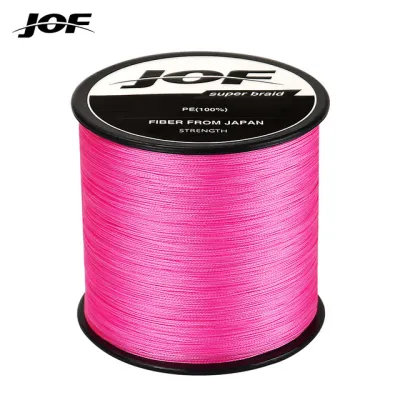
![[COD]100M 4 Strands Braided Fishing Line Super Strong PE Fishing Line Multifilament Braided Line](https://img.lazcdn.com/g/p/8dbdacca26bccd82e41c2f861d68deb8.jpg_400x400q80.jpg_.webp)
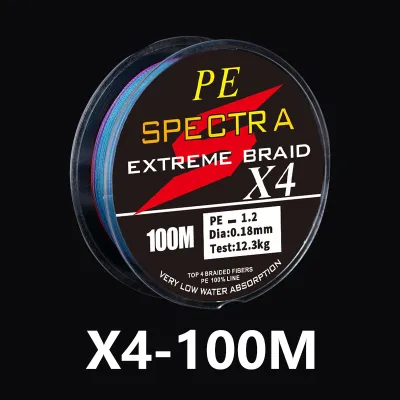
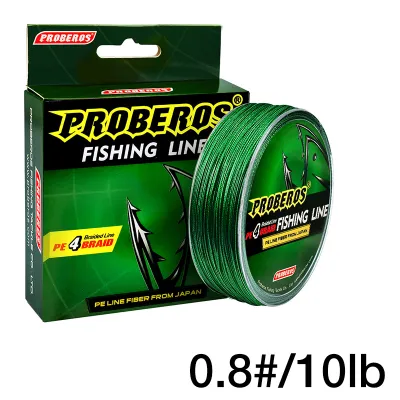
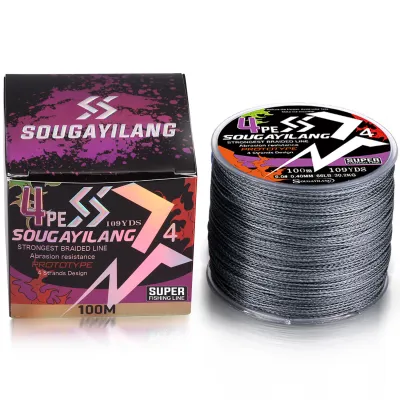
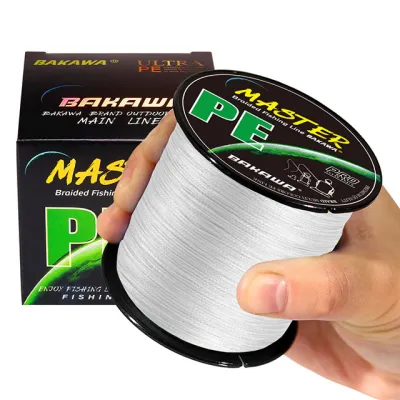
Prices are valid at publication and may change. Please refer to the product page for the latest price.
Because of this lack of stretch and friction, standard fishing knots like the Clinch knot or the Half-Blood knot are highly unreliable when used with braid. Under tension, the slick wraps of the braid will simply slide over one another, causing the tag end to pull through the knot structure and unravel completely. This can happen even under relatively light pressure, leading to lost lures and missed fish.
To prevent slippage, you must use knots specifically designed to maximize surface-to-surface friction. This is achieved either by doubling the line before tying to increase the surface area inside the knot, or by significantly increasing the number of wraps around the main line. These extra wraps distribute the tension across a larger area, creating a tight, self-locking mechanism that squeezes harder as more pressure is applied.
Tools and Preparation for Tying Braided Line
Tying secure knots in braided line requires the right tools and proper preparation. Because braided line is made of tough, woven fibers, attempting to cut it with standard nail clippers or dull knives will only fray the end. Frayed ends are incredibly difficult to thread through small hook eyes and can compromise the structure of complex knots. Always use a pair of sharp, micro-serrated fishing scissors or dedicated line cutters designed specifically for braid to ensure a clean, blunt cut.

In tropical environments, high humidity and salt air can quickly degrade cheap tools. Investing in rust-resistant stainless steel or aluminum line cutters will ensure you always have a sharp edge ready on the water. A clean cut prevents the individual woven strands from separating, making the threading and wrapping process much smoother.
Before you begin tying, always inspect the last few meters of your braided line for any signs of wear, fuzziness, or wind knots. The abrasive environments of shallow reefs, rocks, and structures can easily damage the outer fibers of the braid. If you detect any rough spots, cut that section of line away entirely. Finally, always have fresh water or saliva ready to moisten the line before tightening; pulling dry braid tight creates intense friction heat that can weaken the synthetic fibers at a microscopic level.
How to Tie the Palomar Knot for Hooks and Lures
The Palomar knot is widely regarded as one of the easiest and most reliable knots for securing braided line to terminal tackle, such as hooks, swivels, and lures. Because it involves doubling the line before threading it through the eye, it effectively doubles the strength of the connection and provides excellent resistance to slipping.
To tie the Palomar knot, begin by doubling approximately 10 to 15 centimeters of your braided line to form a loop. Pass this doubled loop through the eye of your hook or lure. If the eye of the hook is particularly small, you can pass the single tag end through first, then loop it back through in the opposite direction to achieve the same doubled line through the eye.
Next, tie a loose overhand knot with the doubled line, ensuring the hook or lure hangs freely in the middle of the loop. Do not tighten this overhand knot yet. Take the open loop end that you just passed through the overhand knot and pull it completely over the entire hook, lure, or swivel body.
Before tightening, thoroughly moisten the line with water or saliva. Hold the hook or lure in one hand, and with your other hand, grasp both the main line and the tag end. Pull them simultaneously with steady, even pressure. As the knot closes, guide the loop so that it slides up and seats cleanly around the eyelet rather than catching on the hook shank. Once fully seated, trim the tag end, leaving about 3 to 4 millimeters of clearance to allow for minor settling.
How to Tie the Uni Knot for Swivels and Snaps
The Uni knot is an exceptionally versatile friction knot that is highly effective for securing braided line to swivels, snaps, and heavy terminal tackle. Its design acts like a noose; as tension is applied to the main line, the wraps squeeze down tightly on the central strand, preventing any chance of slippage.
To begin, pass the braided line through the eye of your swivel or snap, leaving a generous tag end of about 15 centimeters. Fold the tag end back to run parallel to your main line, forming a loop that sits alongside the double strand.
Next, bring the tag end back toward the eye of the swivel and begin wrapping it around both the main line and the inside of the loop. While four or five wraps are sufficient for monofilament, braided line requires at least seven to eight wraps to ensure adequate friction. For exceptionally thin braided lines, you may want to increase this to nine or ten wraps.
Moisten the wrapped section thoroughly to prevent friction damage. Hold the tag end and pull it firmly to close the loop and form the knot structure. Once the knot is formed, release the tag end, grasp the main line, and pull steadily. The knot will slide down the main line and seat firmly against the eye of the swivel. Give both the main line and the tag end one final, firm pull to lock the knot in place, then trim the tag end, leaving a small safety margin.
How to Tie the FG Knot for Leader Connections
When fishing around sharp coral reefs, rocks, or structures, connecting your braided main line to a fluorocarbon or monofilament leader is essential for abrasion resistance and stealth. The FG knot is the premier connection for this purpose because it is incredibly slim, allowing it to pass effortlessly through rod guides without catching or causing friction.
To tie the FG knot, you must maintain constant tension on the braided main line. Many anglers achieve this by keeping the rod in a holder and wrapping the braid around their pinky finger, or by holding the line taut with their mouth. Hold the leader line in your other hand, perpendicular to the taut braid.
Begin the weaving process by crossing the leader over the braid, then wrapping it under, alternating directions. You must complete at least 20 to 22 total wraps (10 to 11 on each side of the leader). As you wrap, you will see the braided line dig into the softer surface of the leader material, creating a highly secure, woven grip similar to a Chinese finger trap.
Once the wraps are complete, hold them tightly between your thumb and forefinger to prevent unraveling. Tie a half hitch with the braided tag end around both the main braid and the leader to lock the weave in place. Moisten the entire knot thoroughly. Grasp the braided main line and the leader in opposite directions and pull with significant force; you will see the wraps darken and lock down tightly. Secure the knot with two or three additional half hitches around the braid alone, then trim the leader tag end extremely close to the knot and the braided tag end to a length of 2 millimeters.
Common Tying Mistakes That Cause Slippage
Even when using the correct knot, minor errors in execution can lead to sudden knot failure and slippage. The most common mistake is failing to moisten the line before tightening. Because braided line is made of synthetic fibers, dry friction during the tightening process generates localized heat that can melt or weaken the line at a microscopic level, causing it to snap under tension.
Another frequent error is using an insufficient number of wraps. Anglers transitioning from monofilament often carry over their habit of making only four or five wraps. On the slick surface of braided line, this does not provide enough surface area to create the necessary friction, allowing the knot to slip apart under heavy loads.
Trimming the tag end too close to the knot body is also a common cause of failure. Braided knots can settle and tighten slightly when subjected to the extreme pressure of a fighting fish. If the tag end is cut flush with the knot, this settling process can pull the remaining tag end directly through the wraps, causing the knot to unravel. Always leave a safety margin of 3 to 5 millimeters.
Finally, failing to pull the knot completely tight and seat it against the eyelet before casting can lead to immediate failure. If a knot is loose, the sudden impact of a casting motion or a fish strike will force the knot to slide rapidly, creating intense friction damage and causing the line to break at the connection point.
How to Test and Verify Your Knot Before Casting
Before making your first cast, it is essential to perform a safety check to verify that your knot is secure and properly tied. Begin with a close visual inspection. The wraps of the knot should lie perfectly parallel to one another, forming a neat, uniform barrel shape. If the wraps look messy, crossed, or uneven, the knot is structurally compromised and should be cut and retied.
Next, perform a physical pull test. Because braided line can easily cut bare skin under tension, never wrap the line directly around your fingers. Instead, wrap the main line around a gloved hand, a wooden dowel, or a dedicated knot-pulling tool. Hold the hook or swivel securely with a pair of pliers.
Apply steady, increasing pressure to the line, simulating the tension of a fighting fish. Watch the knot closely as you apply force. It should remain perfectly stationary against the eyelet or connection point without sliding, deforming, or changing shape. If you notice any movement or if the tag end begins to slip into the knot, cut the line immediately and tie a new knot. Taking an extra minute to ensure a perfect connection on land is always better than losing a prized catch on the water.
Frequently Asked Questions (FAQ)
Do I need to use a leader with braided fishing line?
While you can tie braided line directly to your terminal tackle, using a fluorocarbon or monofilament leader is highly recommended in most fishing scenarios. Braided line is highly visible in clear water, which can easily spook wary fish. Additionally, braid has very poor abrasion resistance against sharp rocks, coral reefs, and the teeth of predatory fish. A leader provides an invisible, abrasion-resistant buffer zone that protects your main line.
How many wraps should I make when tying a Uni knot with braid?
When tying a Uni knot with braided line, you should make at least seven to eight wraps. If you are using exceptionally thin braided line (under 15-pound test), increase this to nine or ten wraps. The extra wraps are necessary to compensate for the slick surface and thin diameter of the braid, ensuring there is enough surface area to create a secure, slip-free grip.
Why does my braided line keep slipping even when I use the right knot?
Persistent slippage is usually caused by failing to moisten the line before tightening, which prevents the knot from seating fully. It can also occur if you do not pull both the main line and the tag end simultaneously when tightening, or if you trim the tag end too close to the knot body. Ensure you leave a small safety margin on the tag end to allow the knot to settle naturally under load.

Community discussion
Share your experience or ask a question. Comments are reviewed before publication.