
Securing a running belt bag so it remains perfectly still and friction-free requires a deliberate combination of anatomical positioning, tension adjustment, and strategic packing. When a belt bounces, it disrupts your running rhythm, wastes energy, and causes painful skin irritation. In hot and humid tropical climates like the Philippines, managing this movement is even more critical, as sweat-soaked skin is highly vulnerable to friction and chafing.
By understanding how to align the belt with your body’s natural contours and distribute your gear properly, you can eliminate distractions and focus entirely on your stride. Whether you are training for a marathon or heading out for a quick morning jog, a few simple adjustments before you step out the door will keep your gear secure and your skin protected.
Choose the Right Position for Your Body and Gear
Finding the sweet spot for your running belt bag depends largely on your unique body shape and the type of gear you carry. The two primary placement options are high on the natural waist or low across the hips. Each position offers distinct advantages depending on your physical build and running mechanics.
Products mentioned in this guide
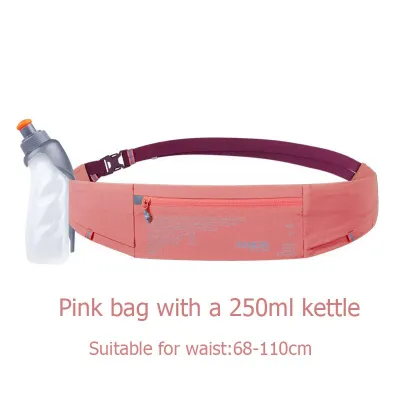
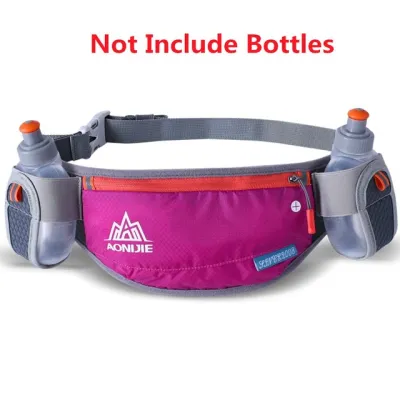
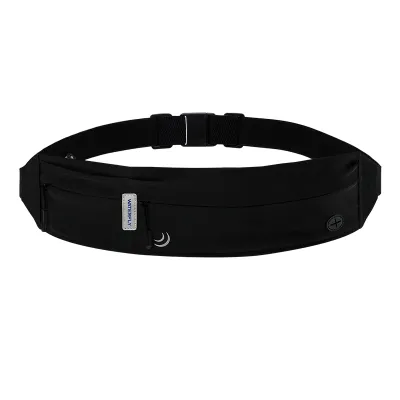
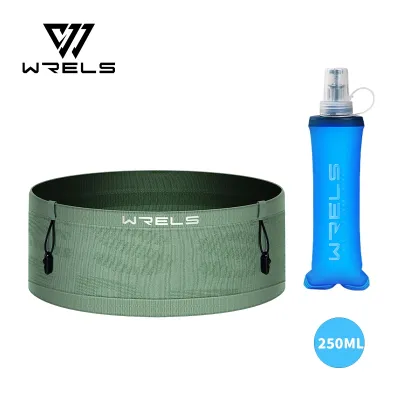
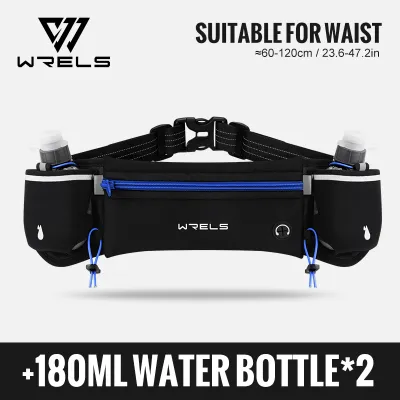
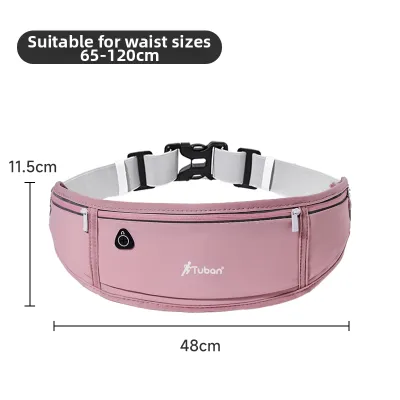
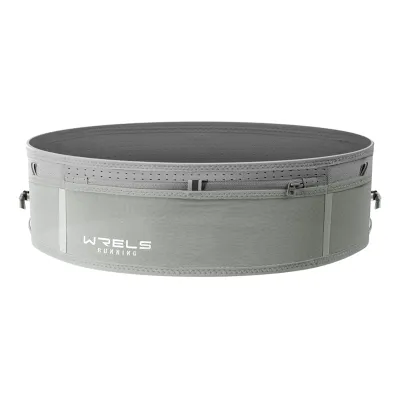

Prices are valid at publication and may change. Please refer to the product page for the latest price.
Wearing the belt low on the hips, along the pelvic crest, is highly effective for runners with wider hips. The pelvic bone acts as a natural shelf that prevents the belt from sliding downward. This lower placement keeps the weight of your gear close to your center of gravity, minimizing vertical bounce. However, if the belt is too loose, it can slide down and restrict the natural movement of your thighs during your stride.
Alternatively, positioning the belt higher up around your natural waist—just above the belly button—is often preferred by runners with straight or athletic builds. This area is narrower, which naturally keeps the belt from riding up. The main drawback of high-waist placement is potential stomach compression. If the belt is tightened too much in this position, it can restrict deep diaphragmatic breathing and cause digestive discomfort during intense efforts.
To find your ideal position, consider the weight of your items. Heavy objects like large smartphones or soft flasks require a lower, more stable placement on the hips to prevent the belt from sagging. Ensure that whichever position you choose does not interfere with your natural arm swing. Your elbows should clear the belt bag easily without brushing against the pockets or zippers as you pump your arms.
Adjust the Fit to Eliminate Bounce and Slippage
Once you have selected the optimal position on your body, achieving the correct tension is the next step to eliminating bounce. A belt that is too loose will slide and shake with every step, while a belt that is too tight will restrict your breathing and cause discomfort.

To adjust the fit properly, start by putting the belt on while it is relatively loose. Position the main pouch where you want it, then pull the adjustment straps symmetrically from both sides to ensure the pouch remains centered. If your belt has a single adjustment point, hold the buckle firmly with one hand while pulling the slack with the other to maintain proper alignment.
To verify the snugness, perform a simple two-finger check. Slide two fingers flat between the belt and your body. If you feel a snug, firm pressure against your fingers, the tension is correct. If you have to force your fingers under the band, the belt is too tight and should be loosened slightly to allow for natural torso expansion as you breathe deeply. If there is a gap, the belt is too loose and will slip once you start running.
Managing excess strap length is also crucial for a distraction-free run. Loose, dangling straps will flap against your body as you move, creating annoying micro-friction and potential chafing points. Most high-quality running belts include small elastic loops designed to hold loose strap ends. If your belt lacks these, tuck the excess strap securely back into the main band, or use a small hair tie to keep the loose ends flat.
Prevent Chafing Through Layering and Friction Control
Chafing occurs when damp fabric or elastic repeatedly rubs against your skin over thousands of strides. In tropical environments where humidity is high and sweating is immediate, this friction can quickly wear away the outer layer of your skin, leading to painful raw spots.
The first line of defense against chafing is deciding whether to wear the belt over or under your clothing. Wearing the belt over a moisture-wicking synthetic shirt is generally the most reliable way to protect your skin. The shirt acts as a protective barrier, absorbing the friction that would otherwise target your waistline. Avoid wearing cotton shirts under your belt, as cotton absorbs sweat, becomes heavy, sags, and increases friction against your skin.
If you prefer to wear the belt directly against your skin—perhaps under a loose singlet or when running shirtless—ensure the belt is made of seamless, soft, and breathable materials. Before putting the belt on, apply a generous layer of a silicone-based or petroleum-free anti-chafe balm to your waist, lower back, and hips. Focus specifically on areas where the buckle, seams, or zippers of the belt make direct contact with your skin.
During your run, stay alert to early warning signs of friction, often referred to as “hot spots.” A hot spot typically feels like a localized warm sensation, mild stinging, or itching. Do not ignore these sensations in the hope that they will go away. Stop immediately, shift the belt slightly to a different position, or adjust your shirt fabric to create a fresh, dry barrier between the belt and your skin.
Pack and Distribute Weight for Maximum Stability
How you pack your running belt bag is just as important as how you wear it. An unevenly loaded belt will pull to one side, rotate around your waist, or bounce excessively, regardless of how tightly you secure the straps.
Start by identifying your heaviest item, which is typically your smartphone. To maintain balance, place this heavy item in the center of the belt, aligning it either directly against your lower back (along your spine) or flat against your lower abdomen. Placing heavy items at your body’s center of gravity minimizes the rotational force generated as your hips swing side to side during your stride.
Next, distribute smaller, lighter items symmetrically on either side of the heavy center object. For example, if you are carrying energy gels, car keys, and salt tablets, place half of these items on the left side and the other half on the right. If you pack all your smaller items on one side, the lopsided weight distribution will cause the belt to slowly rotate around your waist as you run, leading to uneven friction and chafing.
Utilize the internal compartments and pockets of your belt to lock items in place. Loose keys or coins rattling inside a pocket not only create distracting noise but also shift the weight balance with every step. Use built-in key clips to secure your keys, and keep your phone in a dedicated sleeve away from sharp objects. If your belt features internal silicone grip strips, ensure they are clean and positioned flat against your clothing or skin to help anchor the pack.
Test and Troubleshoot Your Setup Before Long Runs
Never wear a newly adjusted or packed running belt on a long training run or race without testing it first. A quick pre-run diagnostic routine allows you to identify and correct fit issues in a controlled environment before they turn into painful injuries.
Before leaving your home, perform a dynamic warm-up test. Stand in place and do ten jumping jacks, followed by five high knees on each side, and a few gentle torso twists. Pay close attention to how the belt behaves. If you feel the belt sliding upward toward your ribs, or if you hear your gear rattling loudly, your tension is too loose or your weight distribution is uneven. Make the necessary adjustments and repeat the test until the belt remains stationary.
Once the dynamic test feels secure, head out for a short, easy jog down your street for about two minutes. Use this time to evaluate your breathing and skin comfort. Ensure that the belt does not restrict your ability to take deep, full breaths. Check if the waistband of your running shorts or tights is bunching up under the belt, as bunched fabric is a primary cause of severe chafing.
Establish clear stop conditions for your run. If you experience sharp chafing, persistent bouncing that cannot be resolved by tightening, or restricted breathing within the first kilometer, stop and address the issue immediately. If you cannot find a comfortable adjustment on the go, it is always safer to abort using the belt for that specific run. Continuing to run with a poorly fitting belt can cause painful skin tears that may sideline you from training for several days.
Frequently Asked Questions (FAQ)
Should I wear my running belt over or under my shirt?
Wearing your running belt over your shirt is generally recommended because the fabric of your shirt acts as a protective barrier, significantly reducing the risk of direct skin friction and chafing. This setup also makes it much easier to access your phone, keys, or nutrition on the go. However, if you are running in extremely wet conditions or sweating heavily, a wet shirt can sometimes bunch up under the belt. If you choose to wear the belt under your shirt, ensure the belt is made of soft, seamless materials and apply an anti-chafe balm directly to your skin to prevent irritation.
Why does my belt still bounce even when it feels tight?
If your running belt continues to bounce despite being tight, it is usually due to overloading or incorrect positioning. Overloading a belt beyond its designed capacity stretches the elastic material past its recovery point, causing it to sag and bounce with your stride. Another common cause is placing the belt on the widest part of your hips without securing it properly; as you run, the belt will naturally try to migrate upward to the narrower part of your waist, creating slack and causing movement. Ensure your heaviest items are centered and that the belt is anchored firmly against your pelvic crest or natural waist.
Can I wash my running belt to remove sweat and prevent skin irritation?
Yes, regularly washing your running belt is essential for both hygiene and maintaining the performance of the gear. Sweat contains salt crystals that, when dried, stiffen the fabric and turn it into an abrasive surface that accelerates chafing on your next run. Always check the manufacturer’s care label first. Generally, it is best to hand-wash the belt in cool water using a mild, fragrance-free detergent, rinsing it thoroughly to remove all soap residue. Avoid using a machine dryer, as high heat can degrade the elastic fibers and damage any internal silicone grips; instead, hang the belt to air-dry in a shaded, well-ventilated area.

Community discussion
Share your experience or ask a question. Comments are reviewed before publication.