
Applying a Wilson Pro Overgrip correctly to your badminton racket is essential for maintaining a secure hold, absorbing sweat, and preventing slippage during high-intensity rallies. In tropical climates where high humidity and heat lead to rapid perspiration, a properly wrapped overgrip acts as a crucial barrier between your hand and the handle. The process involves preparing a clean surface, anchoring the grip at the butt cap, wrapping upward with consistent tension and overlap, and securing the top with finishing tape. Mastering this technique ensures your racket feels comfortable and responsive, allowing you to focus entirely on your footwork and shot execution.
Preparing Your Racket and Materials
Before you begin wrapping, prepare the racket handle to ensure the new overgrip adheres properly and lays flat. Start by peeling off the old, worn-out overgrip. If the previous grip left behind sticky adhesive residue or bits of degraded material, gently wipe them away. A clean surface prevents lumps and ensures the new grip does not slip or bunch up during play. If you are wrapping over a standard replacement grip, inspect it to make sure it is still structurally sound and not crumbling, as a damaged base grip will compromise the feel of your new overgrip.
Once the handle is clean and dry, gather your materials. You will need a new Wilson Pro Overgrip, the adhesive finishing tape that comes packaged with it, and a sharp pair of household scissors. Unroll the overgrip and locate the clear protective plastic film covering the tacky side. It is highly recommended to work on a clean, flat table where you can lay out your tools and avoid dropping the grip onto a dusty floor, which would instantly ruin its adhesive properties.
Products mentioned in this guide
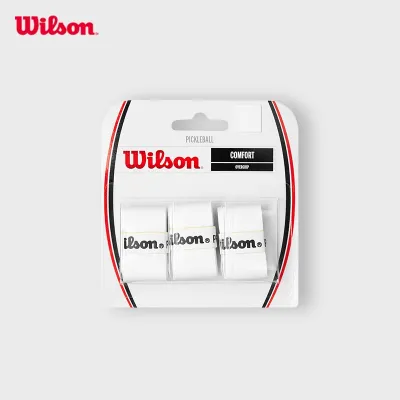
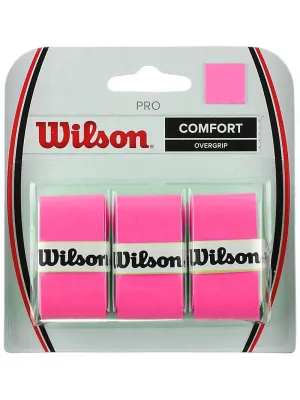
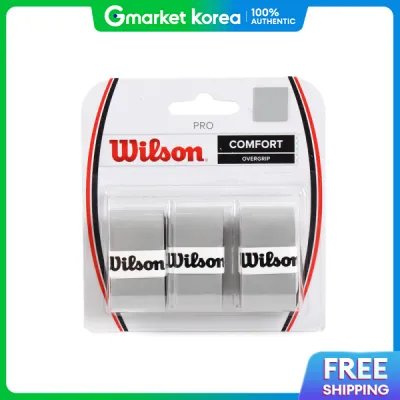
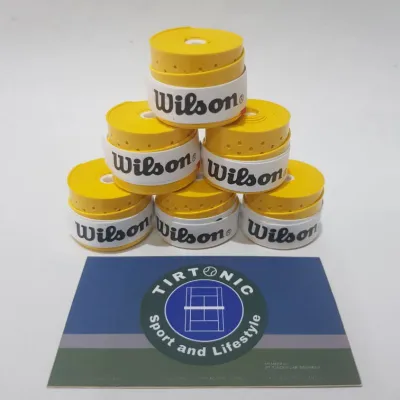
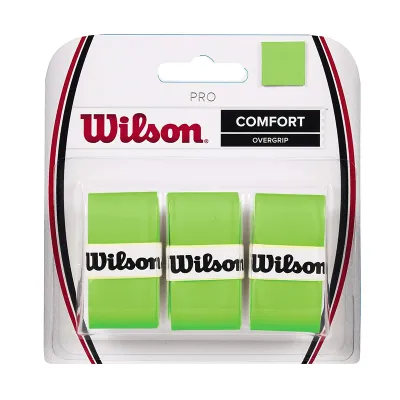
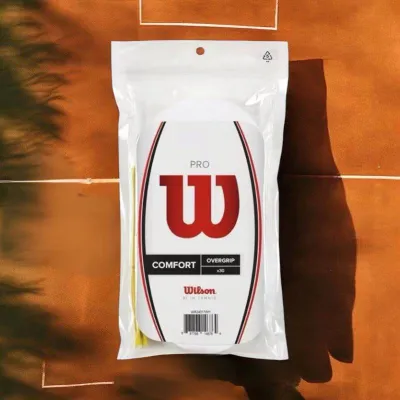
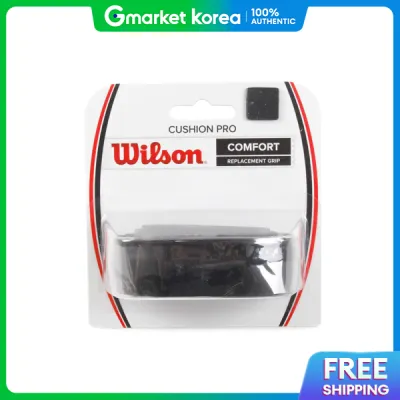
Prices are valid at publication and may change. Please refer to the product page for the latest price.
Step-by-Step Wrapping Technique
Applying an overgrip is a systematic process that requires patience and a steady hand. The goal is to create a smooth, uniform surface from the very bottom of the handle cap all the way up to the plastic cone near the shaft. By breaking the process down into distinct phases—anchoring, wrapping, and finishing—you can achieve a professional-grade result that feels custom-made for your hand.

Starting the Grip at the Base
To begin, unroll the overgrip completely and peel off the clear protective plastic film from the entire length of the strip. Look closely at both ends of the overgrip; you will notice that one end is tapered and typically features a small piece of adhesive tape. This tapered end is your starting point. If your specific grip has a small adhesive tab on the tapered end, peel the backing off this tab to help anchor the start.
Position the tapered end at the very bottom of the racket’s butt cap. Align the edge of the grip so it slightly overlaps the bottom edge of the cap. This slight overhang, which you can tuck in later, ensures that the hard plastic edge of the butt cap is fully cushioned and will not rub against your palm during play.
Hold the starting edge firmly against the handle with your thumb. Slowly rotate the racket with your other hand, wrapping the overgrip completely around the base of the handle once. This first full wrap must be aligned straight and pulled firmly to lock the starting edge securely in place. Once this anchor wrap is complete, you can begin angling the grip upward to start covering the rest of the handle.
Wrapping Up the Handle
As you begin wrapping up the handle, the key to success is maintaining consistent tension. Pull the overgrip firmly as you wrap, but avoid pulling so hard that the material thins out or deforms. In humid climates, maintaining the right tension prevents the grip from shifting when your hands get sweaty during intense matches.
To achieve a uniform thickness, pay close attention to the overlap. A standard guideline is to overlap the grip by about two to three millimeters on each turn. Many overgrips feature a subtle line or texture change near the edge to help guide your overlap. Keeping this overlap consistent ensures there are no uncomfortable ridges or bare spots along the handle.
When you reach the top of the handle where the wooden grip transitions into the plastic cone, you will need to adjust your wrapping angle. The cone tapers sharply, so you must angle the grip more steeply to ensure it lies flat against the plastic surface without bunching. Smooth out any minor wrinkles with your thumb as you wrap over this transition zone.
Finishing and Securing the Top
Once you reach the top of the handle or your preferred wrapping height on the cone, hold the overgrip tightly against the racket to prevent it from unravelling. Take your sharp scissors and cut the remaining overgrip at a diagonal angle. Cutting it diagonally creates a clean, tapered edge that wraps flush around the top of the handle, preventing a bulky bulge at the finish line.
With the diagonal cut complete, wrap the final tapered tail flat against the cone. Keep pressure on this point with your thumb while you prepare the finishing tape. The finishing tape is the narrow, adhesive strip included in your overgrip packaging.
Peel the backing off the finishing tape and wrap it tightly around the top edge of the overgrip, overlapping both the grip material and a small portion of the plastic cone or shaft. Pull the finishing tape firmly as you wrap it around to ensure a tight, secure seal. Press down along the entire length of the tape to activate the adhesive, ensuring it will not peel back during fast racket swings.
Common Wrapping Mistakes and How to Avoid Them
One of the most frequent mistakes players make is wrapping the overgrip too loosely. A loose wrap allows the material to slide and bunch up under the friction of your hand, which can ruin your control during quick shots. If you notice the grip shifting after just a few games, unravel it and rewrap it with firmer, more consistent tension.
Conversely, pulling the overgrip too tightly is also problematic. Over-stretching the material strips away its natural cushioning and reduces its ability to absorb shock, leaving you with a harsh, stiff feel that can contribute to wrist fatigue. Find a middle ground where the grip feels snug against the handle but still retains its soft, cushioned texture.
Inconsistent overlapping is another common error that leads to an uneven handle surface. If you overlap too much in some areas and too little in others, you will create thick ridges that can cause blisters during long training sessions. Take your time during the wrapping process; if you see an uneven section, simply unwind the grip a few turns and correct the overlap.
Finally, always double-check that you have removed the clear protective plastic film before wrapping. Leaving this film on is an easy mistake to make, especially when you are in a hurry at the court. If left on, the grip will feel extremely slippery, will not absorb any sweat, and will slide off the handle almost immediately.
When to Replace Your Overgrip
Knowing when to replace your overgrip is vital for maintaining peak performance on the court. Over time, the friction from your hand and exposure to sweat will degrade the polyurethane material. Visual signs are the most obvious indicators that it is time for a change. Look for peeling edges, visible tearing near the thumb placement area, or severe discoloration from dirt and sweat.
Tactile changes are equally important. A fresh overgrip has a distinct tacky or soft feel that helps you hold the racket with minimal effort. When the grip begins to feel slippery, smooth, or hard and compacted, it has lost its functional properties. Playing with a worn-out, slippery grip forces you to squeeze the handle harder, which can tense your forearm muscles and negatively impact your stroke mechanics.
Hygiene is another critical factor, particularly in warm, tropical environments. Sweat absorbed by the overgrip becomes a breeding ground for bacteria, leading to persistent unpleasant odors. If your racket handle begins to smell damp or musty, or if the grip feels constantly moist even after sitting in your bag, it is time to strip it off and apply a fresh wrap to keep your gear clean and hygienic.
Frequently Asked Questions (FAQ)
Can I wrap an overgrip directly on the bare wooden handle?
It is not recommended to wrap an overgrip directly onto a bare wooden handle. Overgrips are designed to be thin layers that sit on top of a thicker base replacement grip. Wrapping directly onto bare wood does not provide enough shock absorption, which can lead to discomfort and increased vibration traveling up your arm. Additionally, sweat can easily penetrate the thin overgrip and seep into the raw wood, causing the handle to rot or weaken over time. Always ensure you have a proper base grip or cushion wrap installed first.
How often should I change my Wilson Pro Overgrip?
There is no fixed calendar schedule for replacing your overgrip, as it depends entirely on how often you play, how much your hands sweat, and your personal preferences. Frequent players who train multiple times a week in humid conditions may need to change their overgrip every one to two weeks to maintain optimal tackiness. Casual players might find that a single grip lasts for several weeks. Monitor the grip’s texture and appearance; once it loses its tackiness or begins to show signs of wear, replace it.
Does the direction of the wrap matter for left-handed players?
Yes, the direction of the wrap does matter depending on your dominant hand. When you grip a racket, your fingers naturally curl across the handle at an angle. For right-handed players, wrapping in a standard clockwise direction (looking down from the top of the racket) aligns the overlaps with the natural curl of the fingers. Left-handed players should wrap the overgrip in the opposite, counter-clockwise direction. This ensures that the edges of the grip do not peel back or feel uncomfortable against the fingers during play.

Community discussion
Share your experience or ask a question. Comments are reviewed before publication.