
Wrapping your hands properly is the most critical safety step before you strike a heavy bag at home. When training without a coach nearby to monitor your form, a 5-meter (approximately 180-inch) hand wrap provides the necessary length to build a thick, protective shield around your knuckles, thumb, and wrists. This length allows you to customize the support based on your hand size, ensuring that the tiny bones in your hands and the delicate joints in your wrists remain aligned under the force of repeated impacts.
By mastering a systematic wrapping technique, you can minimize the risk of common training injuries like sprains, bruises, or wrist hyperextension. The process involves anchoring the wrap at your wrist, securing your thumb, creating a dense cushion over your knuckles, and weaving the fabric between your fingers to lock everything in place. With the right tension and coverage, your wraps will act as a cohesive unit that distributes impact forces evenly across your entire hand structure.
Why 5-Meter Wraps Are Ideal for Home Heavy Bag Work
Training on a heavy bag at home presents unique challenges compared to working out in a supervised gym. Without a coach to correct your punching angles in real time, minor form errors can quickly lead to wrist strain or knuckle abrasions. A 5-meter hand wrap offers a distinct advantage over shorter alternatives by providing ample material to build multiple supportive layers. This extra length is especially beneficial for solo practitioners who need to prioritize joint stabilization and impact absorption during high-volume bag work.
Products mentioned in this guide
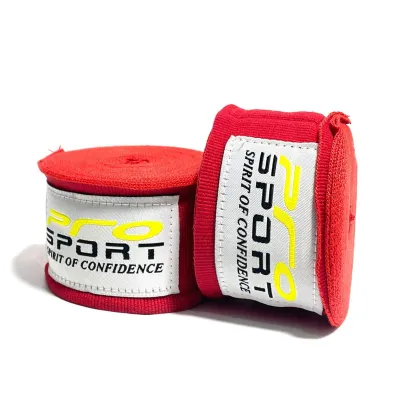
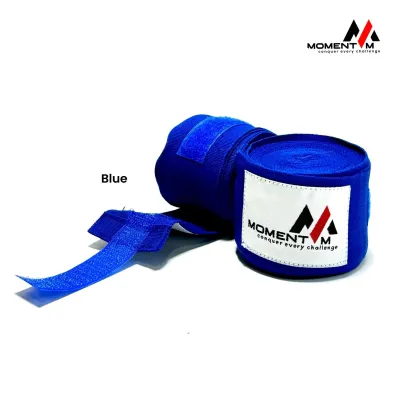
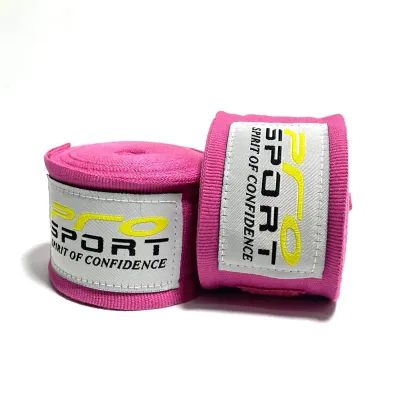
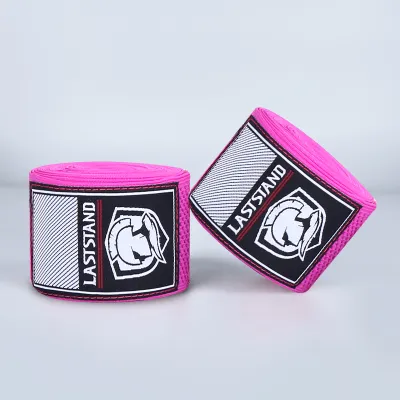
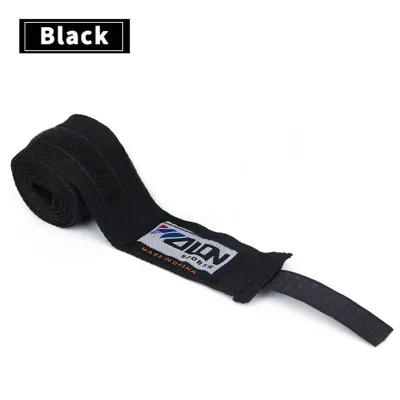
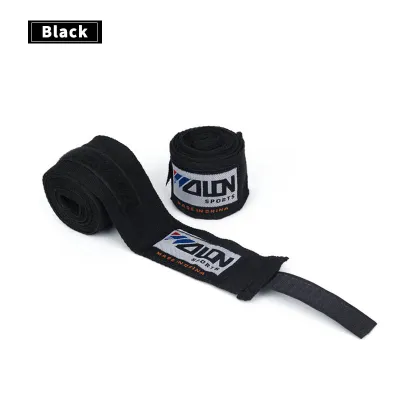
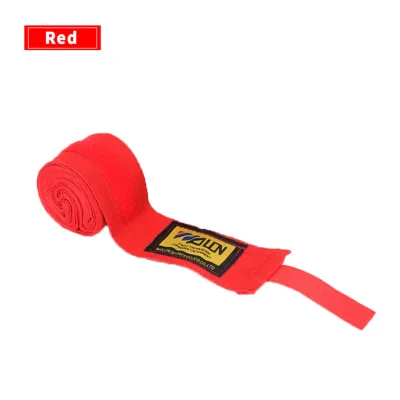
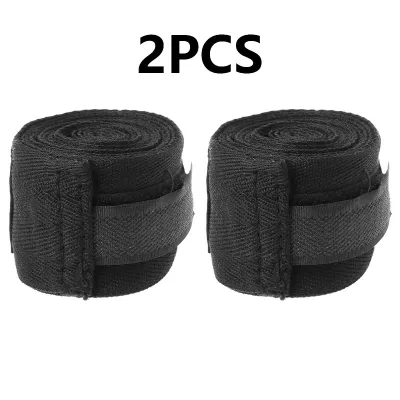
Prices are valid at publication and may change. Please refer to the product page for the latest price.
The relationship between wrap length and protection is straightforward: more fabric means more opportunities to reinforce vulnerable areas. With 5 meters of material, you do not have to choose between securing your wrists or padding your knuckles; you have enough length to do both thoroughly. This is particularly important in tropical climates like the Philippines, where high humidity and sweat can cause wraps to shift during training. The extra length allows for a more secure, multi-layered wrap that stays in place even during intense, sweaty home sessions.
When selecting your wraps, check the manufacturer’s label for material composition. Most wraps are made of either 100% cotton or an elasticized cotton blend, often referred to as Mexican-style wraps. Cotton wraps are durable and offer rigid support, but they lack stretch, requiring precise wrapping technique to avoid overtightening. Elastic blends offer a slight stretch that conforms more easily to the contours of your hand, making it simpler to achieve a snug, comfortable fit that accommodates natural hand movement while maintaining tension.
Preparation and Equipment Check Before Wrapping
Before you begin wrapping, take a moment to inspect your equipment and assess your hand health. Using damaged or worn-out wraps can compromise your safety, as degraded fabric may not hold tension under impact. Unroll your wraps completely and check for frayed edges, loose stitching, or areas where the elasticity has broken down. Ensure the Velcro fasteners are clean and free of lint or hair, as a weak fastener can cause the wrap to unravel mid-workout, potentially leading to injury.

Your hands should be clean, dry, and free from any lotions, oils, or liniments before you start wrapping. Applying wraps over greasy skin can cause the fabric to slip, leading to uneven tension and bunching inside your gloves. In warm, humid environments, starting with dry hands is crucial to prevent moisture from getting trapped beneath the layers, which can cause skin irritation or create an unpleasant odor over time.
Finally, perform a quick self-check on your hands and wrists. If you feel any pre-existing pain, swelling, stiffness, or joint discomfort, do not attempt to wrap your hands and train through the pain. Pushing through joint discomfort on a heavy bag can aggravate minor strains into chronic injuries. If you experience persistent pain, rest your hands and consult a medical professional rather than relying on wraps to mask the issue.
Step-by-Step Guide to Wrapping Your Hands
To get the most out of your 5-meter wraps, follow a structured sequence that systematically secures each part of your hand. This method ensures that the length is distributed efficiently, leaving no area under-protected.
Securing the Wrist and Thumb
Start by locating the thumb loop at the end of the wrap. Place your hand flat with your fingers spread wide and your palm facing down. Slip your thumb through the loop, ensuring that the “this side down” label on the wrap faces your skin. If your wrap does not have a label, ensure the fabric runs across the back of your hand rather than your palm; this initial direction is crucial because it tightens the wrap when you make a fist, rather than pulling it loose.
Pull the wrap across the back of your hand down to your wrist. Wrap the fabric around your wrist three to four times, depending on your wrist thickness and the level of stiffness you prefer. Keep your wrist straight and firm during this step. The wrap should feel snug but comfortable, providing a solid foundation without restricting blood flow. If you have thinner wrists, you can add an extra pass to use up some of the 5-meter length and increase stability.
Next, bring the wrap up from the inside of your wrist and loop it once around your thumb. This anchor pass secures the thumb joint and prevents it from bending backward upon impact. After wrapping the thumb, bring the fabric back down across the back of your hand to the wrist to lock the thumb anchor in place. Verify that your thumb can still move slightly but feels supported at the base.
Padding the Knuckles and Locking the Wrap
From the wrist, bring the wrap diagonally across the back of your hand to the outside of your pinky finger. Run the fabric across your knuckles three to four times to build a thick, protective cushion. Keep your fingers spread slightly apart while doing this to prevent the wrap from becoming too tight when you clench your fist later. This knuckle pad is your primary defense against skin scrapes and bone bruising when hitting the heavy bag.
Once the knuckles are padded, you need to lock the cushion in place so it does not slide up or down. Bring the wrap down to your wrist, then run it up between your pinky and ring fingers. Bring it over and down to your wrist again. Repeat this process between your ring and middle fingers, and finally between your middle and index fingers. Each pass between the fingers should lie flat against your skin without bunching.
After the final finger pass, bring the wrap back to your wrist and make one more diagonal pass across the back of your hand to secure the finger weaves. Use the remaining length of your 5-meter wrap to add extra reinforcing layers around your wrist and the lower palm area. Finish by securing the Velcro fastener flat against your wrist, ensuring it does not overlap onto your hand where it could scratch your skin or catch on the inner lining of your boxing gloves.
Checking the Fit and Making Adjustments
Once your hand is fully wrapped, it is essential to verify the fit before putting on your boxing gloves. Clench your hand into a tight fist several times. The wrap should feel firm and supportive, locking your wrist and knuckles into a single, cohesive unit. When your hand is open, the wrap should feel relatively relaxed; when you close your fist, the tension should increase naturally, providing a solid, hard surface over your knuckles.
Pay close attention to any immediate warning signs of an improper fit. If you experience numbness, tingling, throbbing, or if your fingertips begin to look pale or bluish, the wrap is too tight and is restricting your circulation. This is a critical stop condition. Do not attempt to train with restricted blood flow, as it can lead to nerve compression and hand fatigue.
If the wrap feels too tight, or if it feels loose and slides around when you move your fingers, take the time to unwrap your hand and start over. Adjusting the tension during the wrapping process is a normal part of training. It may take a few attempts to find the perfect balance of snugness and comfort, but taking those extra minutes ensures your hands are fully protected during your home workout.
Common Wrapping Mistakes to Avoid During Solo Training
When training at home without a coach to inspect your hands, it is easy to fall into bad wrapping habits. One of the most common mistakes is wrapping the hands too tightly. While you want your joints to feel secure, excessive tension can compress the nerves in your wrist and hand, leading to cramping and loss of sensation mid-workout. Always err on the side of a snug, supportive fit rather than a constricting one.
Conversely, wrapping too loosely is equally hazardous. If the fabric is loose, it will shift and bunch up inside your glove as you punch the heavy bag. This movement can expose your knuckles to direct impact or allow your wrist to bend unexpectedly, increasing the risk of sprains or skin tears. If you hear or feel the wrap shifting inside your glove, stop training immediately and re-wrap your hand.
Another frequent error is focusing all the wrap length on the knuckles while neglecting the wrist. The wrist joint is highly vulnerable to hyperextension when hitting a heavy bag, especially if you land a punch at an awkward angle. Ensure you allocate a significant portion of your 5-meter wrap to building a stiff, supportive collar around your wrist joint.
Finally, pay attention to the placement of the Velcro fastener. If the Velcro is wrapped too high up on the hand or is twisted, the rough edges can scratch your face during training or wear down the delicate inner lining of your boxing gloves. Always ensure the Velcro lies completely flat and is positioned securely around the wrist area.
Care and Maintenance for Your Boxing Wraps
Proper care and maintenance of your 5-meter wraps are essential for hygiene and to preserve the elasticity of the fabric. In tropical, humid climates, wet wraps left in a gym bag can quickly become a breeding ground for bacteria and unpleasant odors. Immediately after your home training session, unroll your wraps completely and hang them up in a well-ventilated area to dry. Avoid leaving them crumpled in a dark space.
When it is time to wash your wraps, check the manufacturer’s care label for specific instructions. Generally, it is best to wash them in cold water with a mild detergent. To prevent the long wraps from tangling into a giant knot or damaging other clothes in the washing machine, place them inside a mesh laundry bag before washing. Close the Velcro fasteners completely so they do not snag on the wrap fabric or other items.
Avoid using high-heat drying methods, such as a clothes dryer on a hot cycle, as extreme heat can degrade the elastic fibers in elastic-blend wraps and cause pure cotton wraps to shrink excessively. Instead, hang your wraps to air dry out of direct, intense sunlight, which can also weaken the fabric over time. Ensure they are completely dry before rolling them up for storage.
Once dry, roll your wraps neatly starting from the Velcro end and finishing at the thumb loop. This method keeps the Velcro protected on the inside of the roll and ensures that the thumb loop is immediately accessible the next time you prepare to wrap your hands. Storing your wraps rolled up prevents creases and makes your pre-workout routine smooth and efficient.
Frequently Asked Questions (FAQ)
Can I use 5-meter wraps for shadowboxing without gloves?
Yes, you can use 5-meter wraps for shadowboxing without gloves to help maintain proper hand alignment and build muscle memory. While wraps provide excellent joint support and light abrasion protection, they do not have the impact-absorbing properties of boxing gloves. If you transition from shadowboxing to hitting a heavy bag or focus mitts, you must put on your boxing gloves to protect your hands from high-impact forces.
How do I know if my hand wrap is too tight?
You can identify an overly tight wrap by checking for physical signs such as throbbing, numbness, tingling, or a cold sensation in your fingers. If your fingertips turn pale or take on a bluish tint, your circulation is restricted. If you experience any of these symptoms, stop training immediately, unwrap your hand, and reapply the wrap with lighter, more even tension.
Should I wrap both hands before putting on my gloves?
It is highly recommended to wrap both hands completely before putting on either of your boxing gloves. Trying to wrap your second hand while wearing a bulky boxing glove on your first hand is extremely difficult and often results in a loose, poorly secured wrap. Wrapping both hands first ensures you can use your bare fingers to achieve precise tension and a secure fit on both sides.

Community discussion
Share your experience or ask a question. Comments are reviewed before publication.