
Choosing the right scuba diving light is essential for safety and enjoyment underwater, whether you are exploring a deep wreck or navigating a vibrant coral reef. The most critical specifications to evaluate are depth rating, beam angle, lumen output, and battery runtime. However, the ideal combination of these specs depends entirely on your specific diving environment, skill level, and carrying preferences.
While high-quality illumination enhances visibility and reveals the true colors of marine life, equipment can never replace proper dive training and sound underwater judgment. Before purchasing any gear, you must understand your personal limits and the specific demands of your planned dive sites.
Lumens and Beam Angle: Matching Light to Dive Conditions
When reading a manufacturer’s specification sheet, you will encounter lumens and lux. Lumens measure total light emitted, while lux measures intensity concentrated on a specific surface. Chasing the highest lumen count is not always ideal. In high-turbidity waters, such as coastal areas experiencing runoff after heavy tropical rains, an excessively bright light can reflect off suspended particles, creating a blinding backscatter effect that reduces visibility.
Products mentioned in this guide
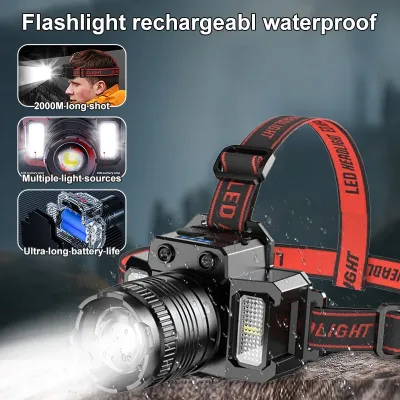
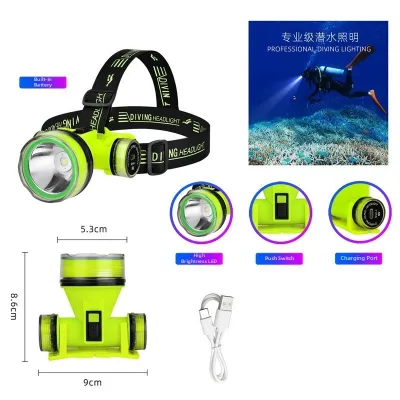
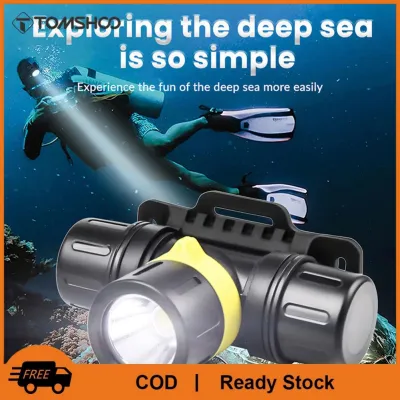
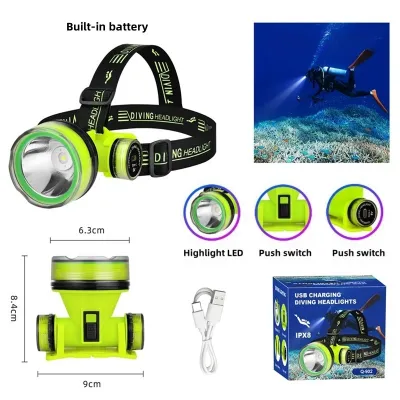
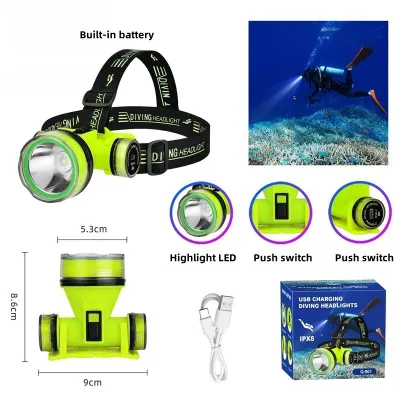
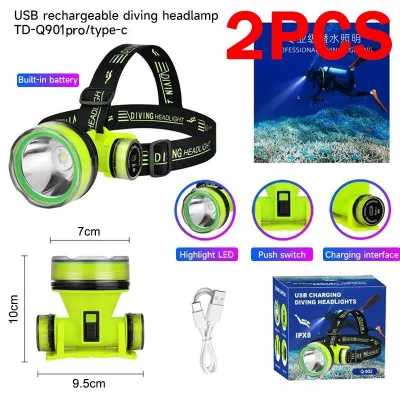
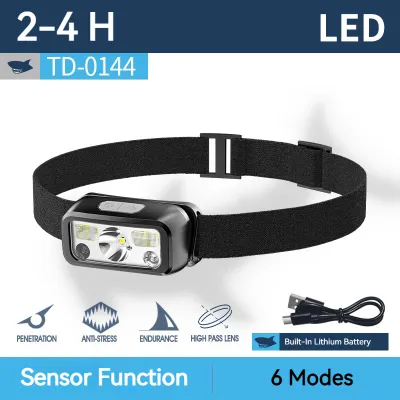
Prices are valid at publication and may change. Please refer to the product page for the latest price.
The beam angle determines light distribution. A narrow spot beam, typically 8 to 15 degrees, concentrates light into a tight, penetrating column. This design is highly effective for cutting through low-visibility water, peering into reef crevices, and signaling your dive buddy. In contrast, a wide flood beam of 60 degrees or more spreads light evenly, making it the preferred choice for general night navigation and underwater photography where harsh shadows must be avoided.
Color temperature, measured in Kelvin (K), also plays a vital role. Because water absorbs red and yellow wavelengths first, underwater scenes quickly lose their natural color. A light with a warmer color temperature (around 4000K to 5000K) or a high Color Rendering Index (CRI) helps restore these lost warm tones, making corals and marine life appear vivid. Cooler temperatures above 6000K produce a stark, bluish light that can wash out natural colors.
Battery Life and Power Sources: Planning for Dive Duration
Evaluating battery specifications is crucial to ensure your light remains functional throughout your planned dive. Rechargeable lithium-ion batteries are the industry standard, offering consistent power output and long-term cost savings. However, if you plan to travel by air to diving destinations across the Philippines, you must verify airline regulations regarding lithium-ion batteries, which are typically restricted to carry-on baggage and must meet specific watt-hour limits.

Do not rely solely on the maximum burn time listed on the packaging. Many manufacturers calculate this figure using the light’s lowest power setting. To plan safely, check the product manual for the rated burn time on the specific brightness level you intend to use. Your light’s battery life on its highest setting should comfortably exceed your planned bottom time, leaving a conservative reserve.
Maintaining your power source requires diligent pre-dive checks. Before sealing the battery compartment, perform a visual inspection of the O-rings for dust, hair, or salt crystals. Even a microscopic gap can allow highly conductive saltwater to bypass the seals under pressure, leading to immediate battery failure and permanent corrosion of the contact points.
Depth Rating and Build Quality: Ensuring Safety Under Pressure
A diving light must withstand the immense pressure of the underwater environment. Always verify the manufacturer’s certified depth rating and ensure it meets or exceeds your maximum planned dive depth. For recreational diving, selecting a light rated to at least 100 meters provides an essential safety buffer. Never attempt to use a light rated only for shallow snorkeling on a deep dive, as the pressure will compress the housing and compromise the seals.
The choice of housing material directly impacts durability, weight, and buoyancy. Anodized aluminum is highly favored for its exceptional strength, scratch resistance, and efficient heat dissipation, though it adds weight to your gear setup. High-strength polymers offer a lighter, completely corrosion-resistant alternative that is easy to carry, but they may not dissipate heat as effectively when the light is operated out of the water.
Switch mechanisms are another critical build-quality factor. Magnetic slider switches or rotary heads are highly reliable because they do not require physical openings through the housing, minimizing potential leak points. Ensure the switch is large and textured enough to operate easily while wearing thick neoprene dive gloves. Additionally, verify that the light features a physical lock to prevent accidental activation inside your gear bag, which can cause extreme overheating.
Mounting Options and Ergonomics: Hands-Free vs. Handheld
How you carry your light affects your dexterity and task efficiency underwater. A head-mounted diving headlight, secured to your mask strap or a dedicated helmet, offers hands-free illumination. This is highly advantageous when you need your hands free to adjust buoyancy, consult a dive computer, or handle camera equipment. However, head-mounted lights require careful head movement to avoid blinding your dive buddy. Handheld torches provide precise control for signaling and searching, making them highly versatile for general navigation.
For head-mounted options, ensure the strap is wide, adjustable, and made of slip-resistant silicone or neoprene to grip your mask securely. A front-heavy design can cause neck strain, so look for compact light heads that distribute weight evenly. If you prefer handheld lights, look for ergonomic handles, robust lanyard attachment points, or quick-release clips. Securing your light to your buoyancy control device (BCD) ensures that if you lose your grip, the light remains safely attached.
How to Build Your Scuba Light Shortlist
To choose the right diving light, begin by defining your primary dive profile. If you mostly conduct daytime reef dives in clear, sunny tropical waters, a compact, narrow-beam handheld light for exploring crevices may be all you need. If you plan to participate in night dives, deep wreck explorations, or technical diving, prioritize a high-capacity primary light with a wider beam, longer burn time, and robust mounting options.
Once you have identified your needs, create a verification checklist to cross-reference specifications directly from official product labels and user manuals:
- Verify that the certified depth rating exceeds your planned dive depths.
- Confirm the battery burn time on your required brightness setting.
- Check for the availability of replacement O-rings and compatible charging accessories.
Be alert to red flags that should prompt you to stop your purchase and consult a qualified local dive shop. Avoid lights with vague descriptions like “waterproof” that lack an explicit depth rating. Similarly, steer clear of products that do not specify the battery type, lack double O-ring seals, or omit clear instructions on thermal protection, as high-power lights can overheat rapidly when operated on dry land.
Frequently Asked Questions (FAQ)
Do I need a primary dive light and a backup light?
For daytime recreational dives where a light is only used to peer into dark crevices, a single light is usually sufficient. However, for night dives, wreck penetration, or deep dives where ambient light is absent, carrying a secondary backup light is a critical safety requirement. If your primary light fails, your backup ensures you can safely read your gauges, signal your buddy, and navigate your ascent.
How should I maintain my scuba diving light after a saltwater dive?
Immediately after exiting the ocean, soak the sealed light in clean, warm fresh water for at least 15 to 30 minutes to dissolve salt deposits around the switch and bezel. Dry the light thoroughly with a clean towel before opening the battery compartment. Periodically inspect the O-rings, clean them of any debris, and apply a thin layer of manufacturer-approved silicone grease to keep the seals pliable and watertight.

Community discussion
Share your experience or ask a question. Comments are reviewed before publication.